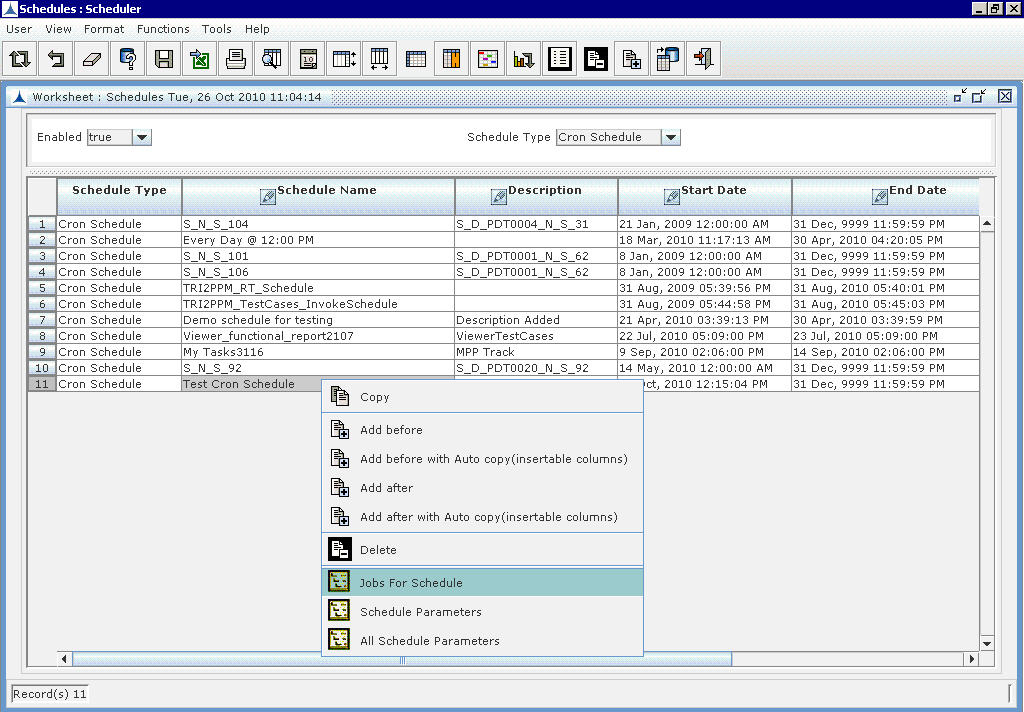
Adding a Job to the Schedule_Figure 1
If there are jobs already configured for the particular schedule the following screen will be displayed.
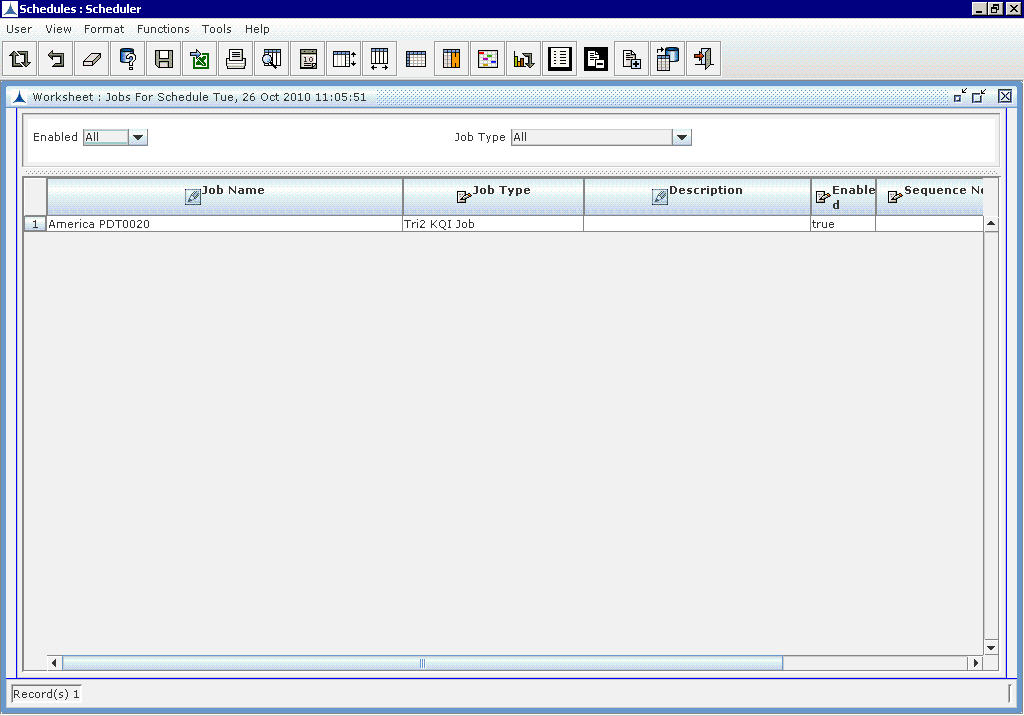
Adding a Job to the Schedule_Figure 2
The following screen will be displayed if no jobs attached to the particular schedule.
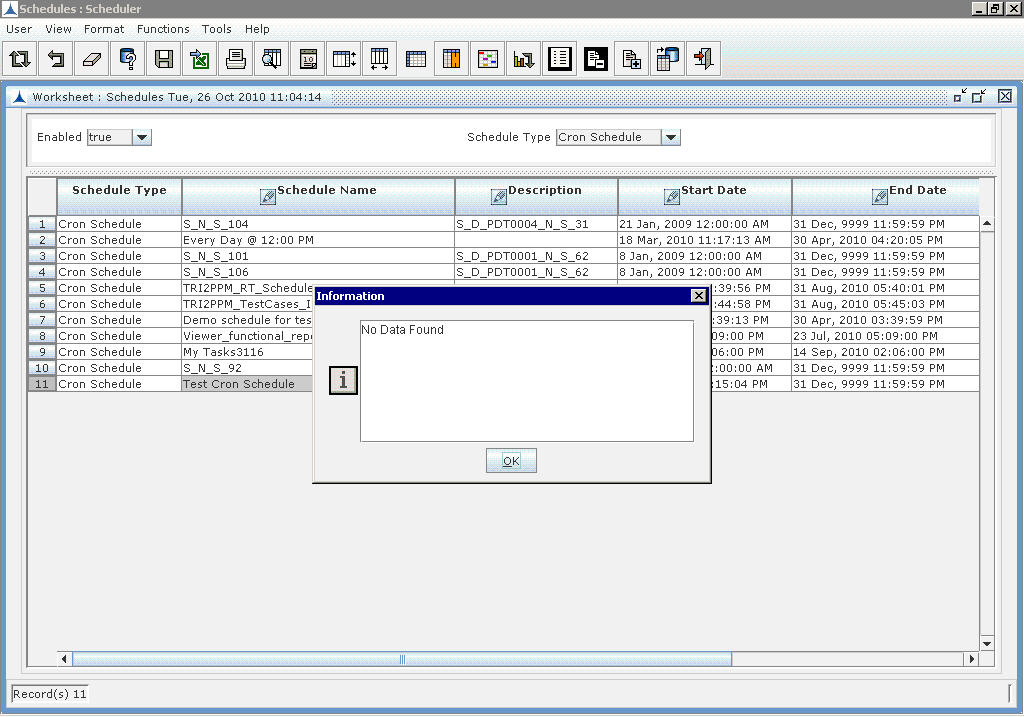
Adding a Job to the Schedule_Figure 3
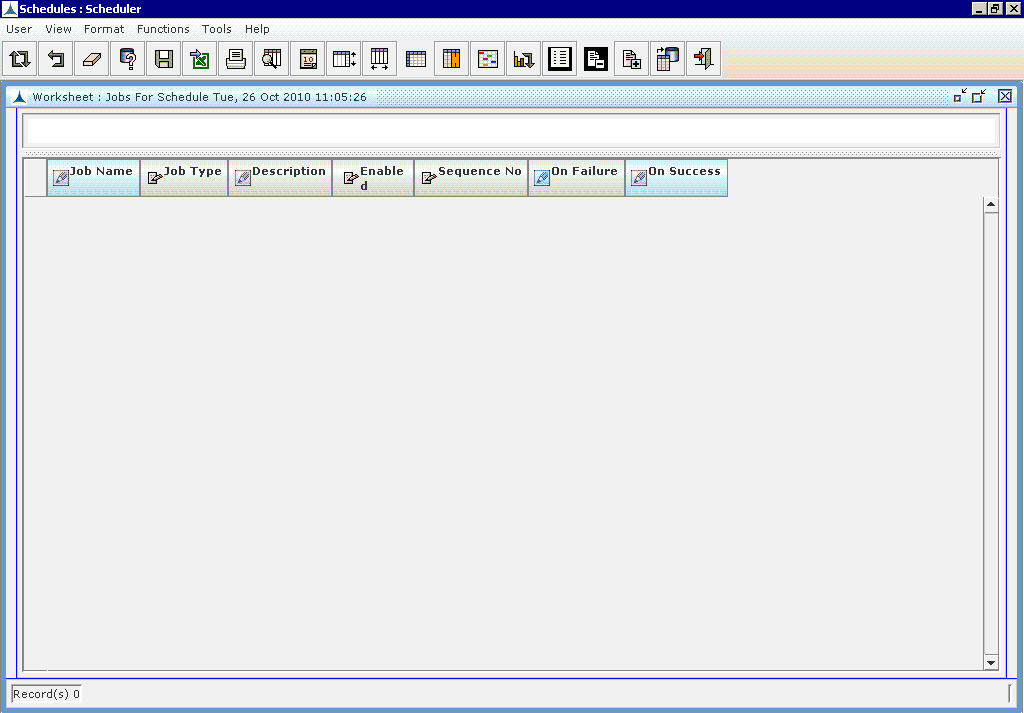
Adding a Job to the Schedule_Figure 4
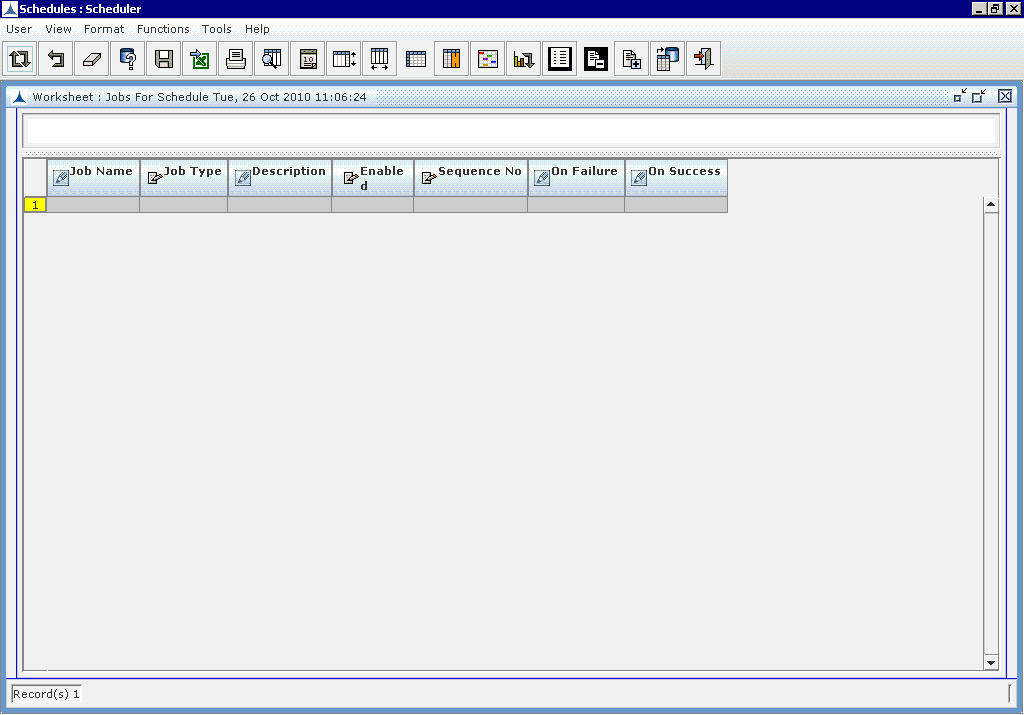
Adding a Job to the Schedule_Figure 5
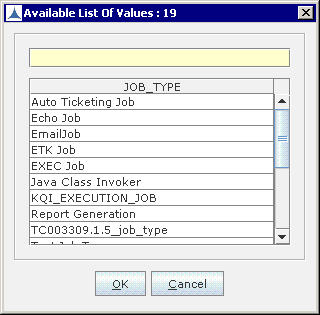
Adding a Job to the Schedule_Figure 6
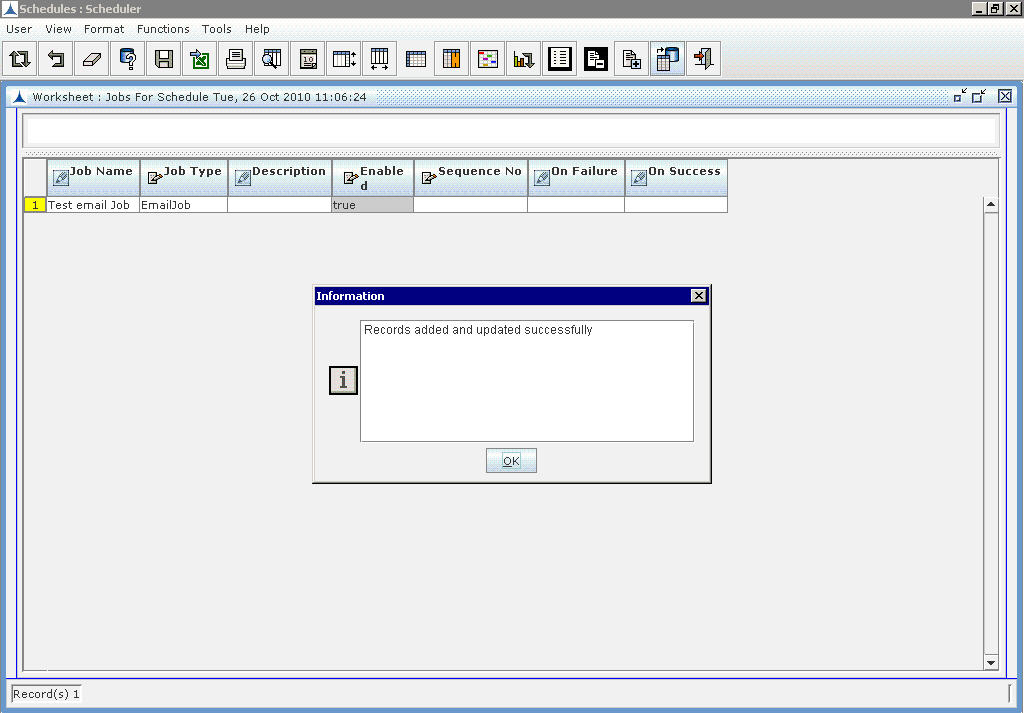
Adding a Job to the Schedule_Figure 7
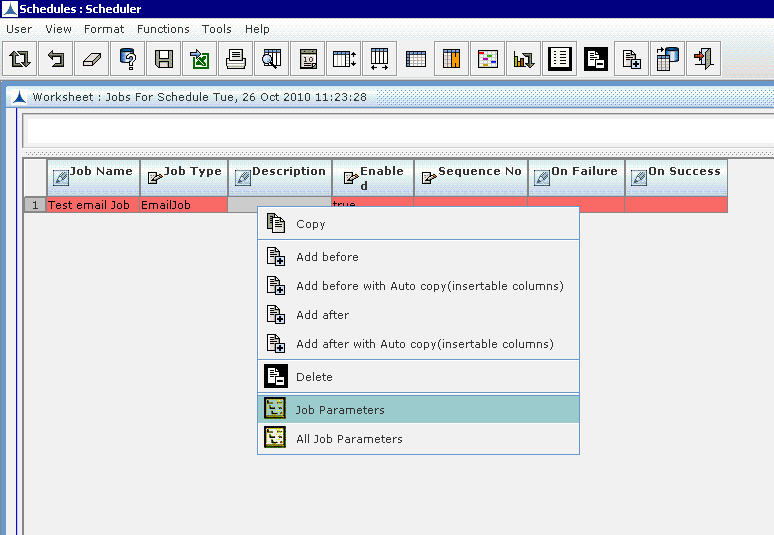
Adding a Job to the Schedule_Figure 8
The following report will be displayed.
Adding a Job to the Schedule_Figure 9

Adding a Job to the Schedule_Figure 10
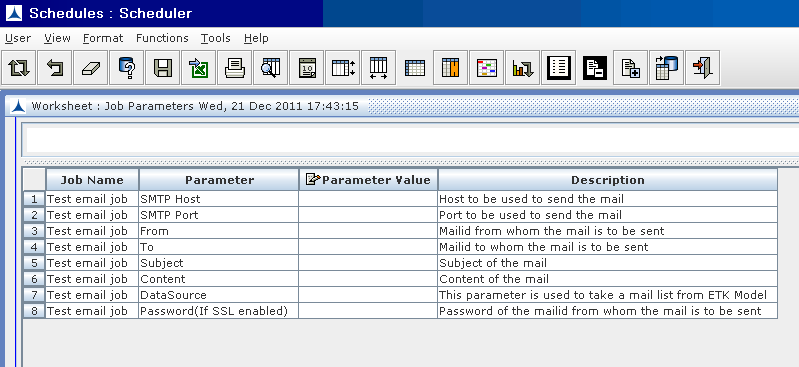
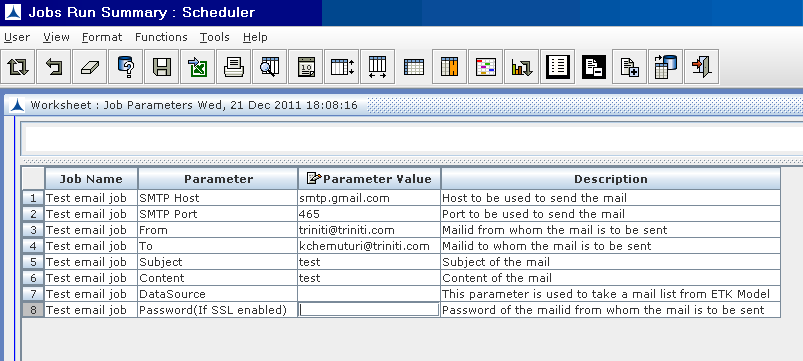
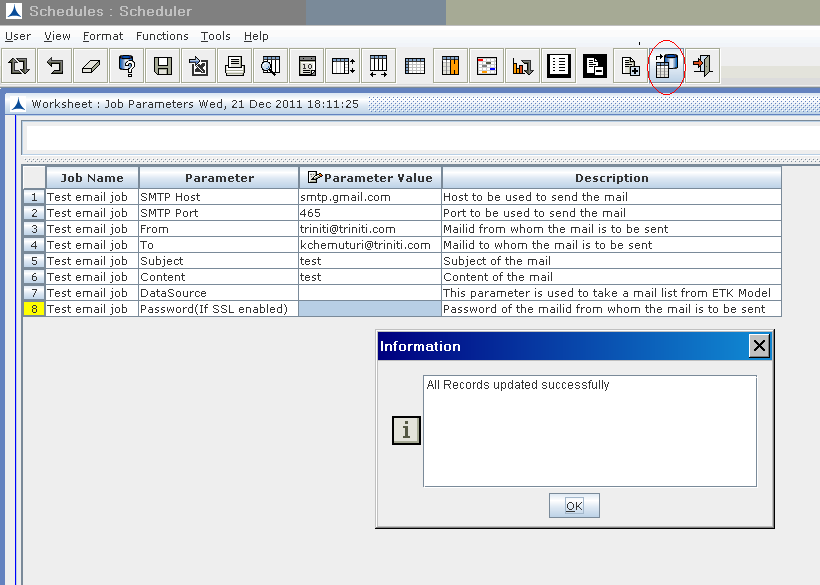
When the Job Type is selected as Email Job, the parameters as shown in the figure below are displayed.
Adding a Job to the Schedule_Figure 11
When the Job Type is selected as ETK Job, the parameters as shown in figure below are displayed.

Adding a Job to the Schedule_Figure 12
Note: Whenever Database is cloned (for example PROD to TEST), all the ETK URLs are to be modified for ETK Jobs in Scheduler (If ETK URLs are not modified then ETK Jobs in TEST instance would fire ETK Instances in PROD).
Adding a Job to the Schedule_Figure 13
Example:
Mail If Still Running(true/false): true
Schedule: Every hour
Start Time: 9:00 AM
Fire Times: 10 AM, 11 AM, 12 PM, 1 PM, 2 PM etc�
Case 1: If the Job takes 1:30 hr to run, then it will not run at 11:00 AM. It will again run at 12 AM.
Case 2: If the Job takes 3:30 hrs to run, then it will not run at 11AM, 12PM, 1PM. It will again run at 2 PM. Scheduler will fire a mail at 1PM saying there are 3 unsuccessful fires.
The following details are required for sending a mail.
SMTP Host: Enter the host name.
SMTP Port: Enter the port at this field.
From: Enter the email address of the person from whom the mail is to be sent as per the schedule.
To: Enter the email address of the person to whom the mail is to be sent as per the schedule.
Subject: Enter the subject for the mail.
Content: Enter the content of the mail.
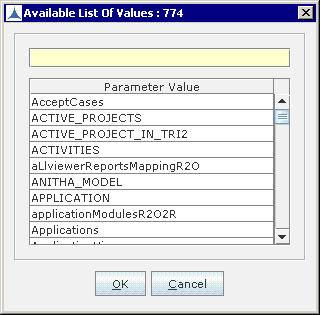
Password(If SSL enabled): Enter the password of the From Mail Id

Adding a Job to the Schedule_Figure 14
Adding a Job to the Schedule_Figure 15
Adding a Job to the Schedule_Figure 16