- Add/Query a Schedule (Refer to the section, Adding a Schedule).
- Drilldown to Jobs For Schedule report as shown below.
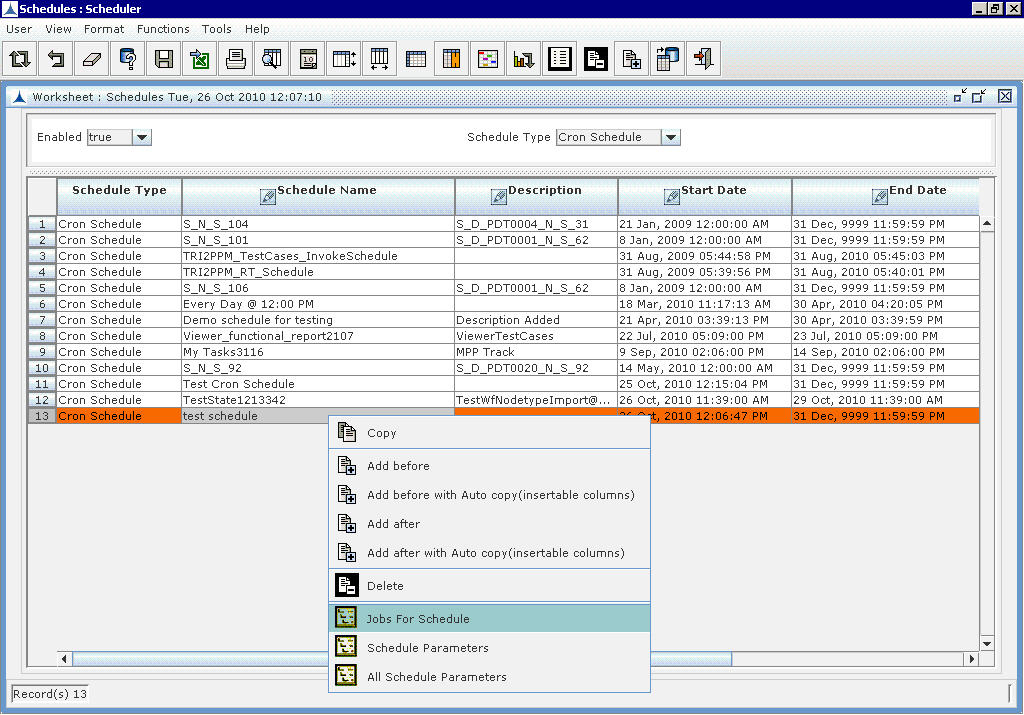 Adding a Job to the Schedule_Figure 17
The following screen will be displayed.
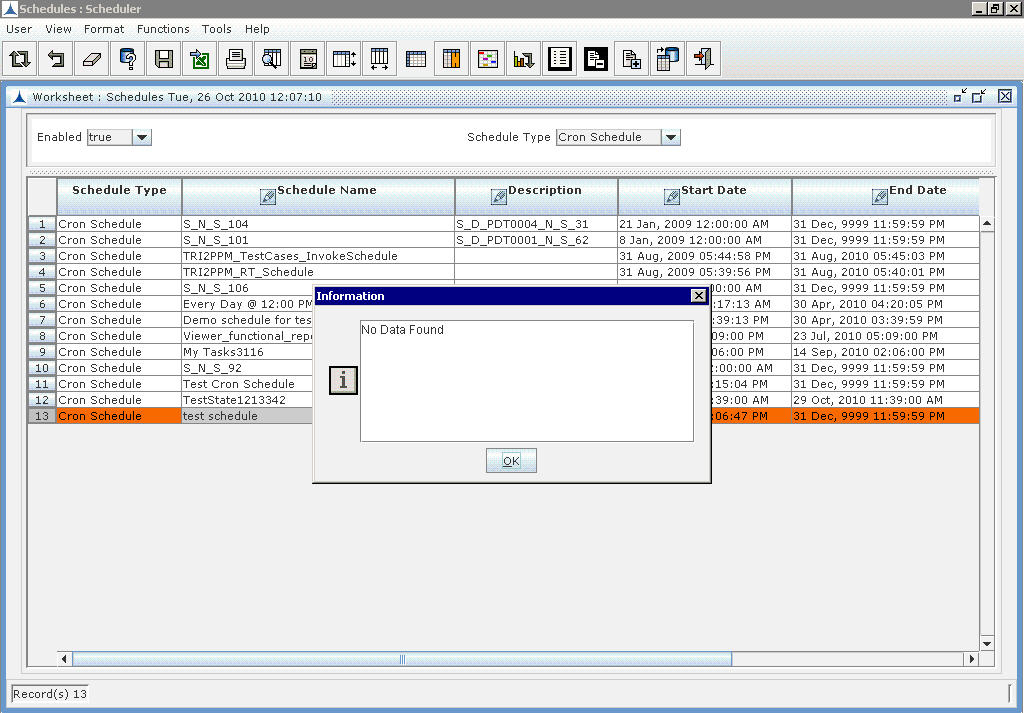
Adding a Job to the Schedule_Figure 18
- Click OK. The following Report will be opened.
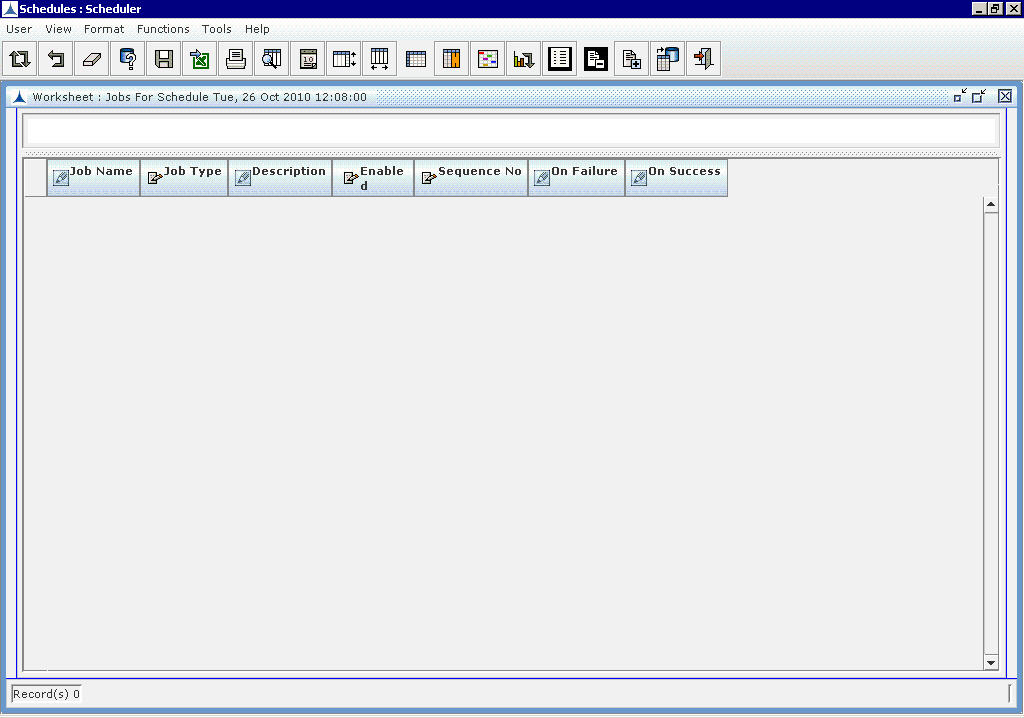
Adding a Job to the Schedule_Figure 19
- Click on the Add New Record icon to add a job. The following screen is displayed.
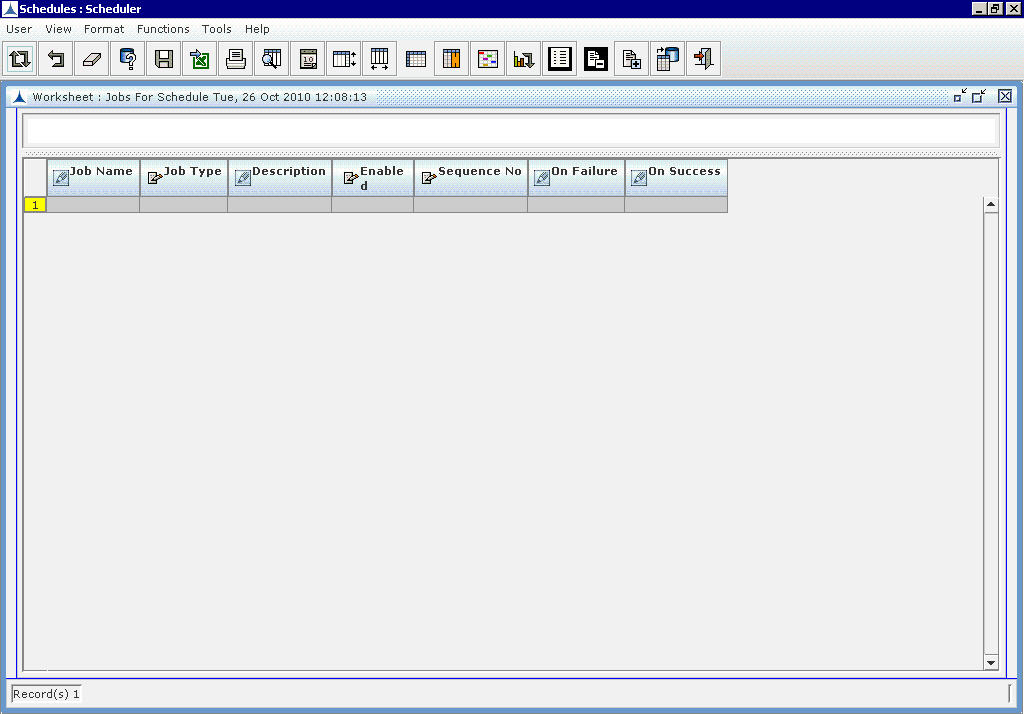
Adding a Job to the Schedule_Figure 20
- Click on the Job Name column and click on LOV For Edit icon in toolbar. A list of existing jobs will be displayed as shown below.
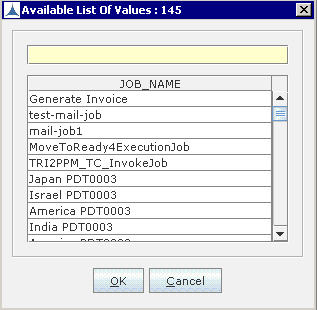
Adding a Job to the Schedule_Figure 21
Enter the following details:
- Job Name: Select the required Job Name.
- Job Type: The name of the Job Type is displayed on selecting the Job Name.
- Description: The description for Job is displayed on selecting the Job Name
- Enabled: The value for enabled property is displayed. Select "true" when the Job needs to be run. Select "false" when the Job should not run.
- On Failure: Enter the sequence number of job that needs to be run on failure of current Job.
- On Success: Enter the sequence number of job that needs to be run on success of current Job.
- Sequence No: Enter the order of sequence numbers in which jobs need to be run when this schedule fires.
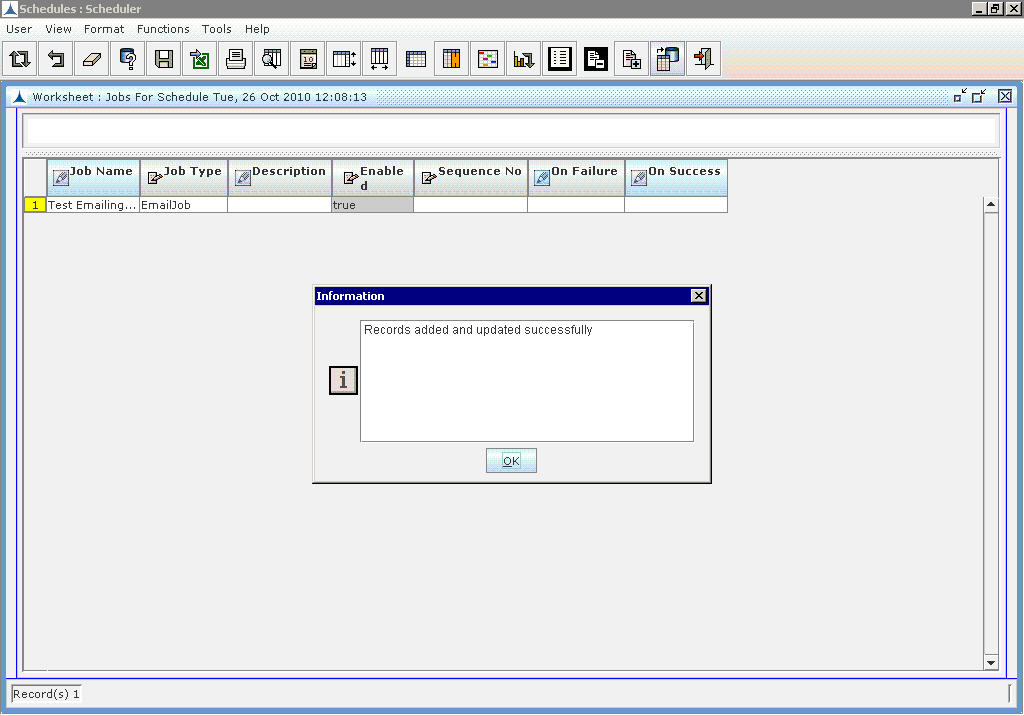
- Click on the Update icon. A message will be shown indicating that the records are added successfully. Click OK.
Adding a Job to the Schedule_Figure 22