Swimlanes feature in Process framework application provides facility to divide the process area into number of lanes based on the swimlane names provided in the Swimlanes dialog.
As Workflow Designer is a Non-Workflow based Process Framework application, the following steps shows how to use swimlanes in Workflow Designer application:
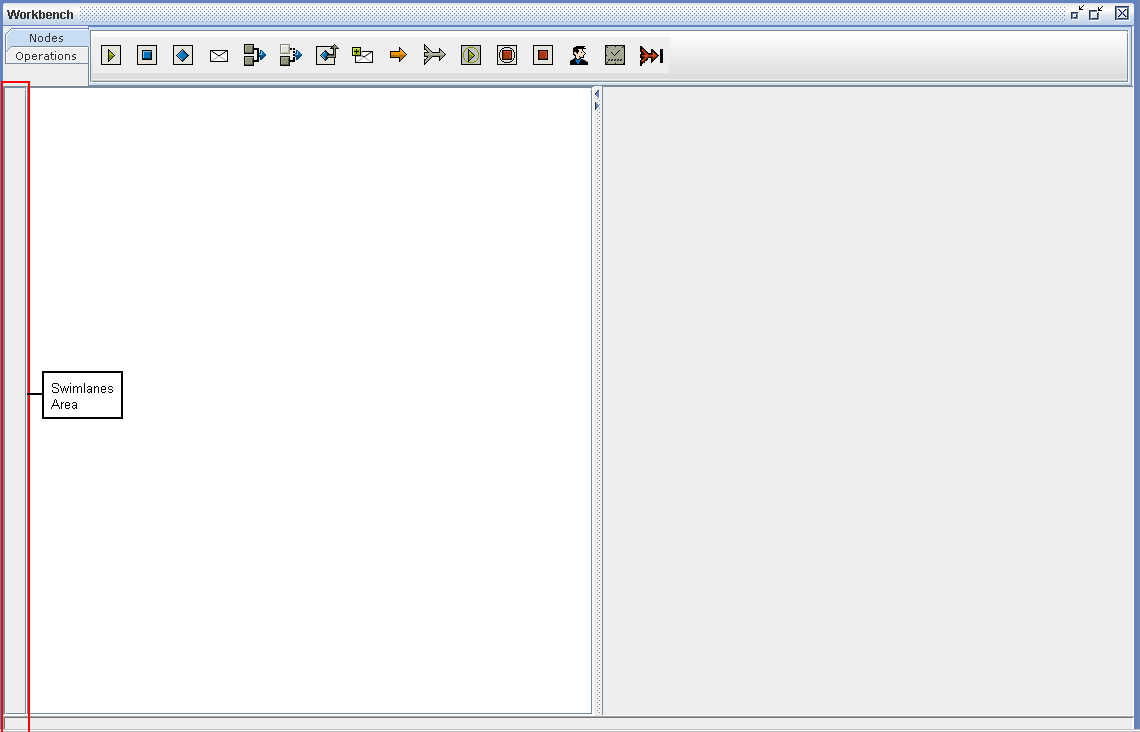
Figure 29:
2. Select Tools -> Models -> Swimlanes menu item from Menu bar
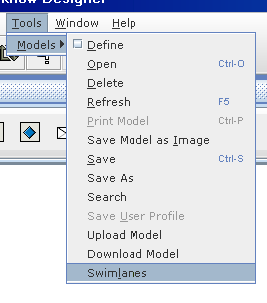
Figure 30:
3. It opens the following HTML window to add/remove/move up/move down swimlanes
Note: If popup blocker is enabled, then HTML window will not be displayed, make sure popup blocker is disabled before using swimlanes functionality
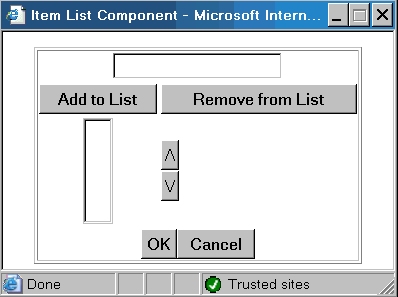
Figure 31:
4. Enter swimlane name in the top text field and then click on Add to List button, and finally click on OK button to show the added swimlane names in the swimlanes area in the workbench.
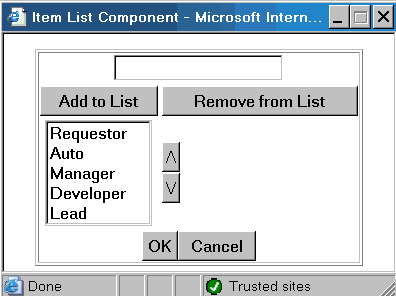
Figure 32:
5. After OK button is click on the HTML window, the swimlanes area in the Workbench will be updated with no of lanes with names, it looks like below:
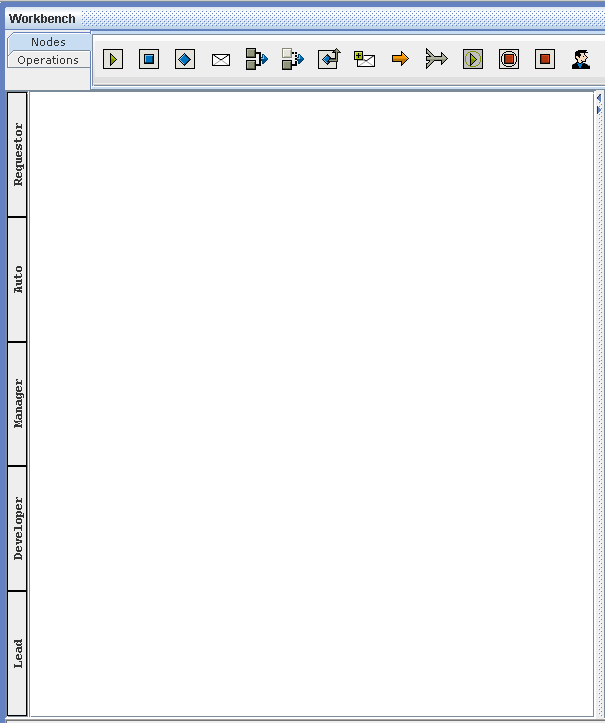
Figure 33:
Where the desired workflow can be drawn by placing the respective nodes in the respective areas.