To define a user,
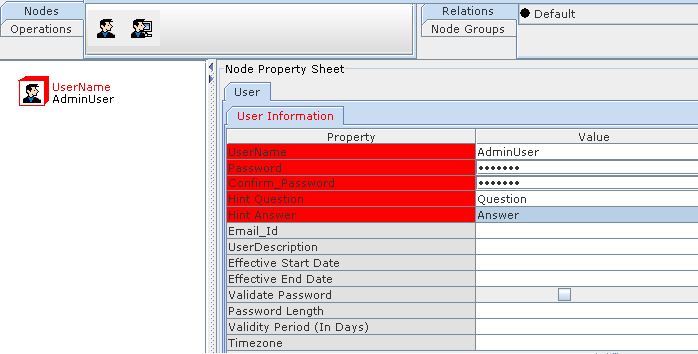
Click on the User node in nodes area and place it on the work area as shown in the figure below:

Figure 276:Defining a user
Enter a name and password for the new user. Confirm Password.
Enter email ID of the new user, and a brief description in the corresponding fields.
Click Apply to apply the properties to the user.
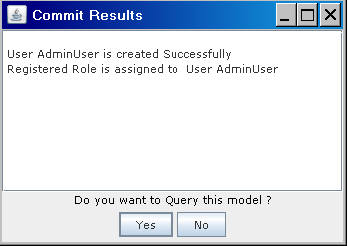
Click on Operations-->Submit.the following Dialogue is appeared.

Figure 277:
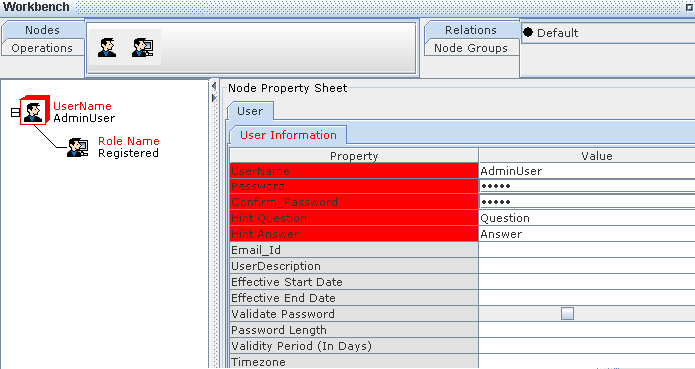
Click on Yes button,the Registered Role is automatically assigned to the Created User.

Figure 278:
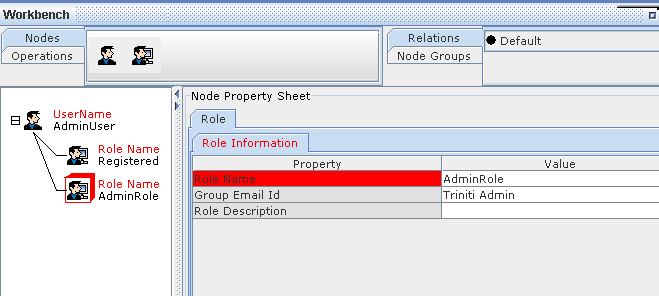
Now you can assign multiple roles to the new user. Click on the Roles node in the nodes area and place it on the work area.
Connect the Roles node to the User node as shown in the figure below:

Figure 279:
Note that the Registered Role is assigned at the time of User Creation.