Steps for Importing an Application
To import an Application:
- Access the Import/Export Frame. You see the screen as shown in Figure 103.
- Right-click on the GPS Applications. Then click on the Import Application popup menu as shown in the figure below:
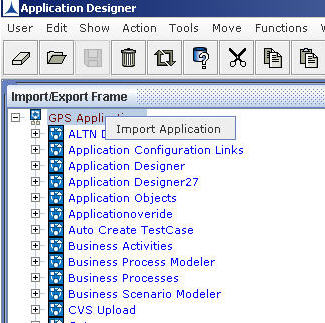
Figure 175
A confirmation message box will be displayed:
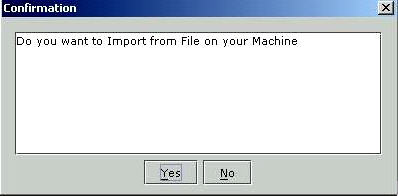
Figure 176
- When the No button is clicked, the xml file will be selected from the default path. The Applications to Import dialog box appears as shown in the figure below:
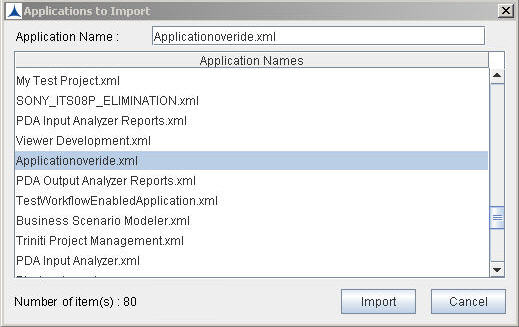
Figure 177
- Select required application from the list and then click on the Import button. If the application already exists, a dialog box displaying a message appears as shown in the figure below:
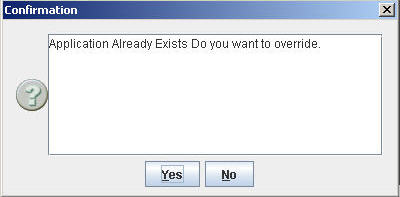
Figure 178
- Click Yes if you want to override.
A dialog box displaying a message appears as shown in the figure below:
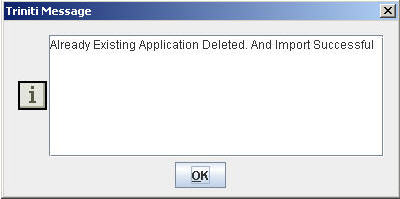
Figure 179
- Click OK.
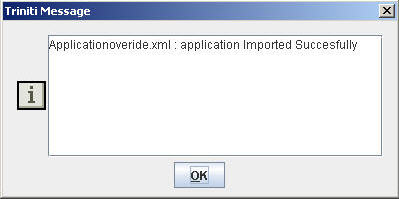
Figure 180
When the Yes button is clicked on Confirmation dialog box, the Triniti XML Model Uploader screen will be displayed:
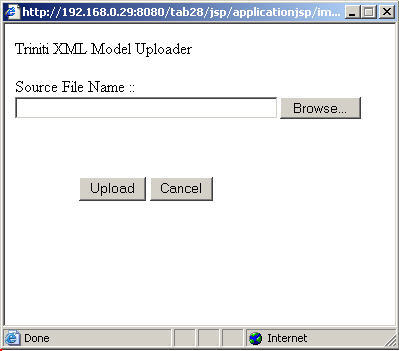
Figure 181
- Click on the Browse button. The Choose File dialog box appears.
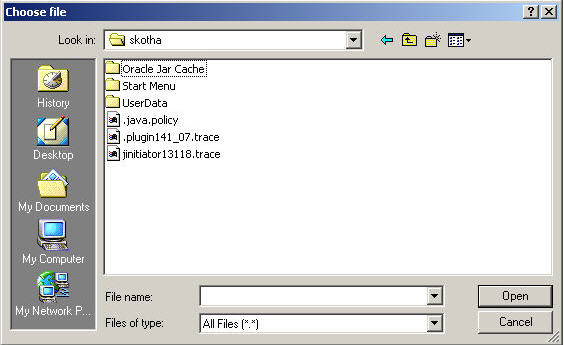
Figure 182
- Choose the file that needs to be uploaded and then click Open. This file name appears at Source File Name field in Triniti XML Model Uploader screen.
- Now, click on the Upload button. After the process is completed, a message is displayed indicating that the application is imported successfully.
The imported application will be added to the Applications list as shown in the figure below:
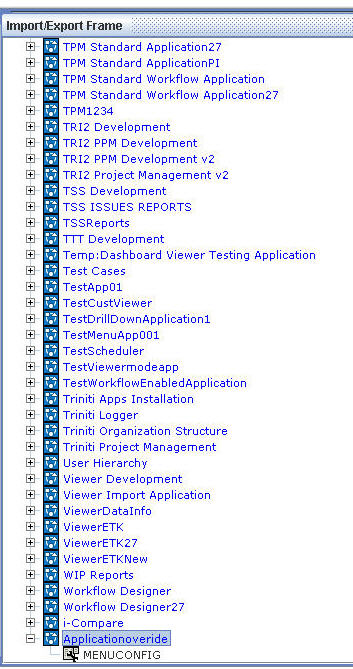
Figure 183