Query the application using query criteria.
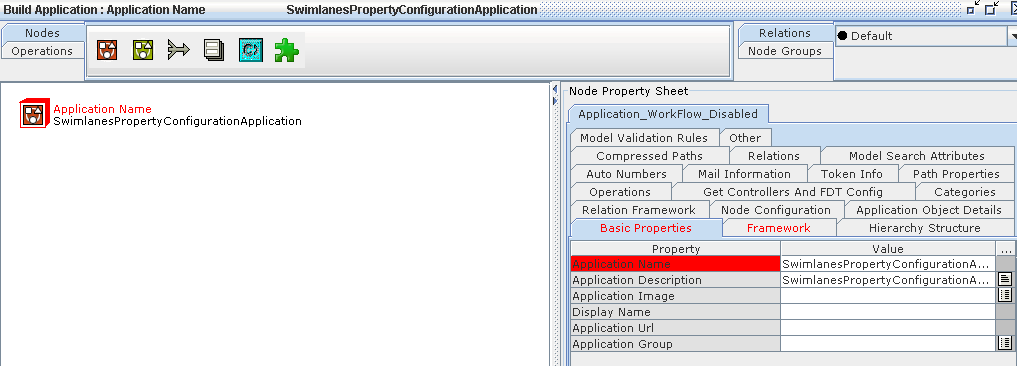
Figure 372
Click on the Node Configuration Tab in the Node Property Sheet the following Screen is appeared.
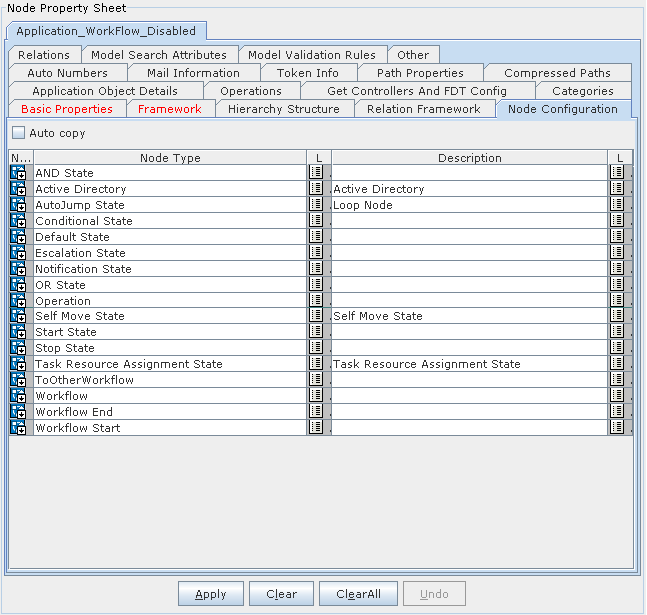
Figure 373
Select the Node Type to which the Swimlane Property and default Swimlane is to be applied and click on that Node Type as shown in below figure.
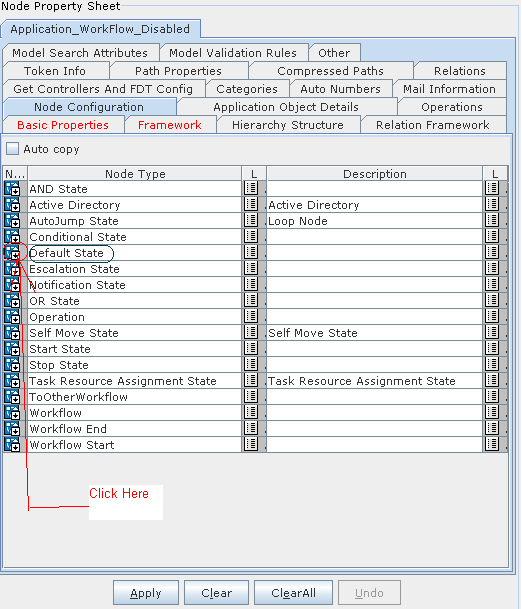
Figure 374
The following Node Configuration Sheet is appeared.
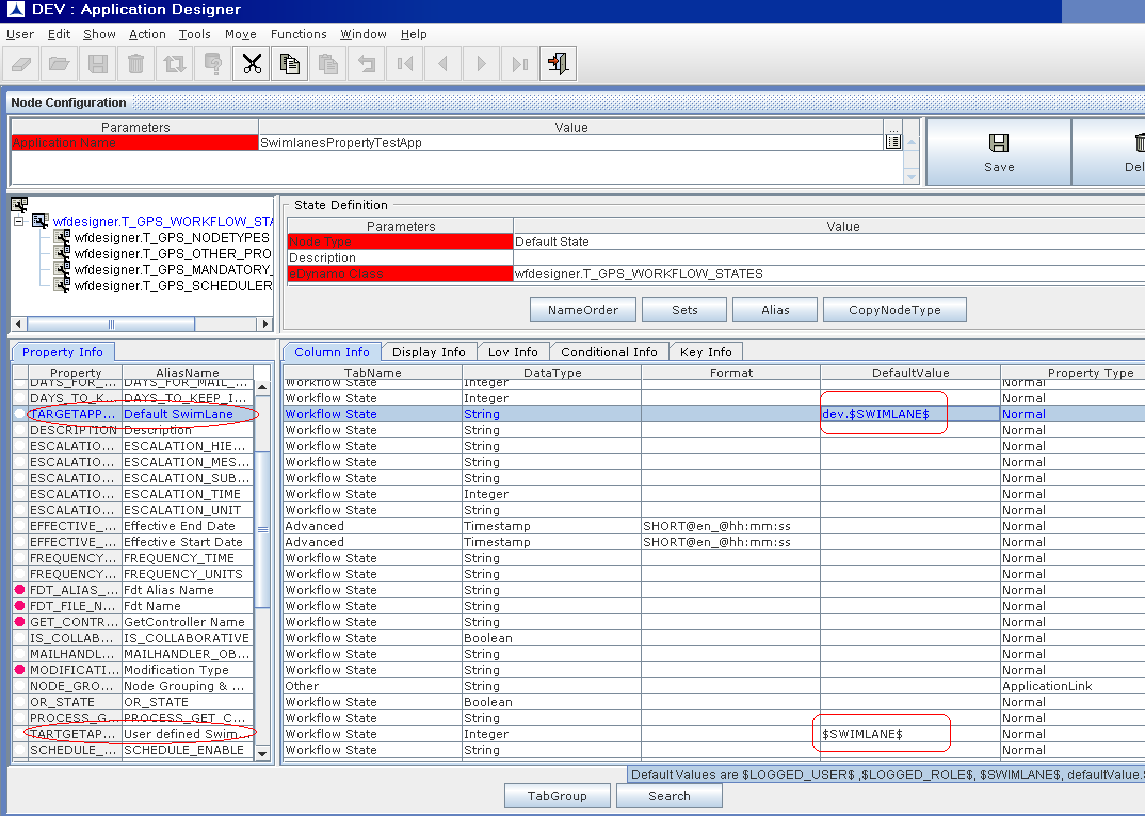
Figure 375
The above figure shows the default Swimlane and the Property Swimlane are Set to the Default Node Type and are placed in between the $(dollar) Symbol.
Click on save button the following info dialogue is appeared.
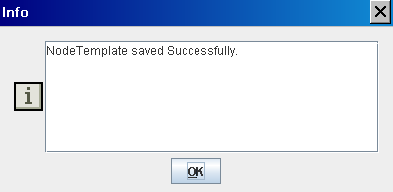
Figure 376
Click on ok button and now assign the application to the concerned Role in the Role Based Security.Select the Required Application to which the above changes are done as shown below.
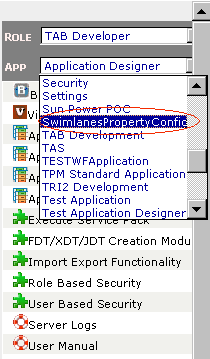
Figure 377
Click on Build link the following screen is appeared.
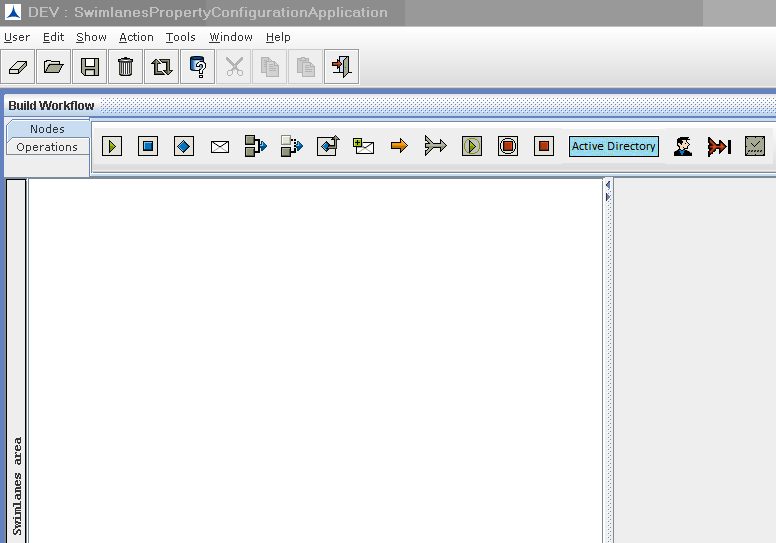
Figure 378
Click on the Node to which the swimlane property is set (Here default node) and drop it on the canvas.The following screen is appeared.
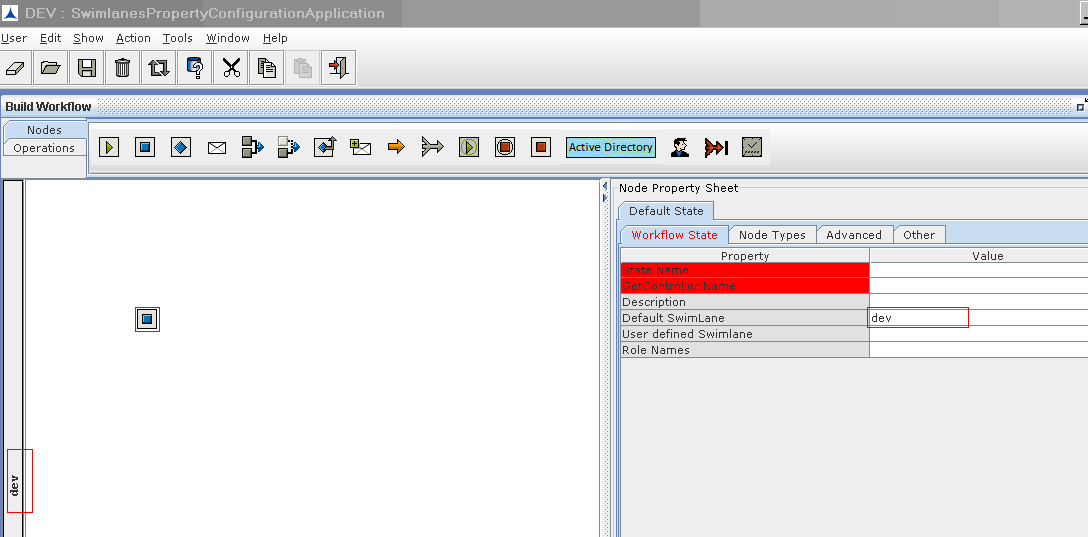
Figure 379
In the above figure "dev" is the default Swimlane which is set to Default Node Type and we can add Swimlane Property i.e; user defined Swimlane as shown below.
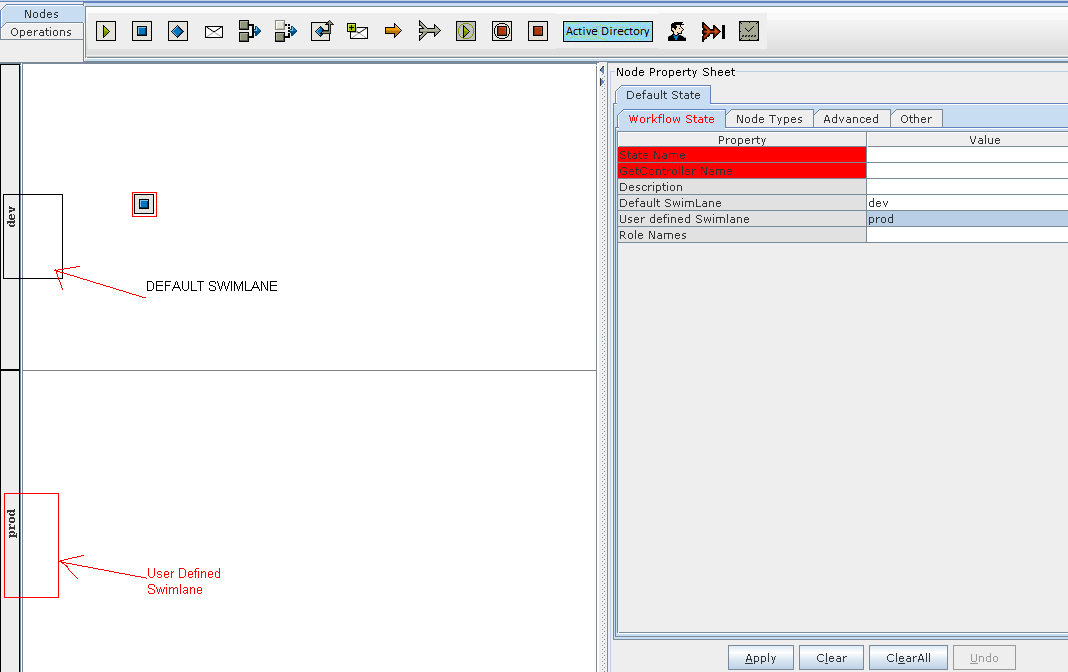
Figure 380
In the above figure enter the value corresponding to the User defined Swimlane property in the Node Property Sheet and click on apply.The Swimlane named " Prod "is appeared .
Now click on operations and then on commit button.