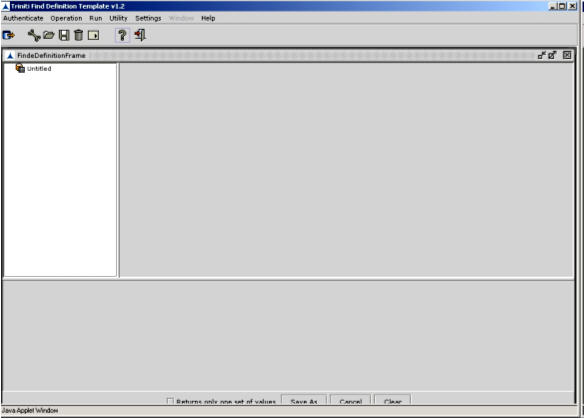
Figure 300:Defining & Configuring an FDT
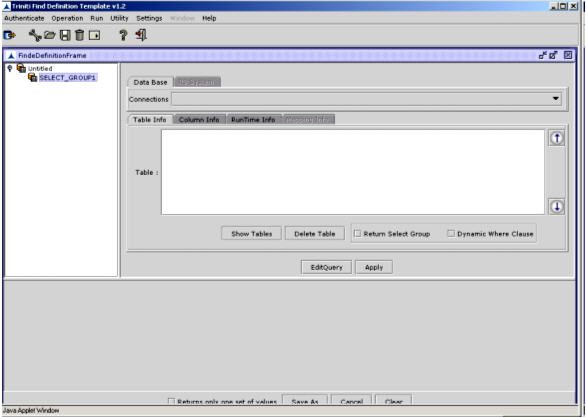
Figure 301:Adding a select group to an FDT
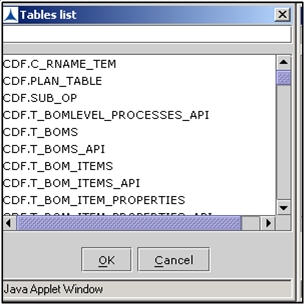
Figure 302:A dialog box showing list of tables in the connected database
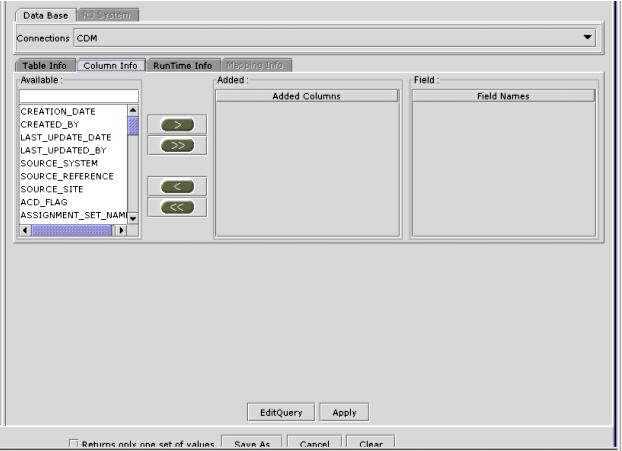
Figure 303:Selecting columns from a table
Field Names: The column name will be taken as field name by default. Typically, the names that are understandable to users are given as field names. To change the default field name, double click the field name and modify it as desired.
Edit Query: To edit the SQL query, click EditQuery. You see the following query dialog box.
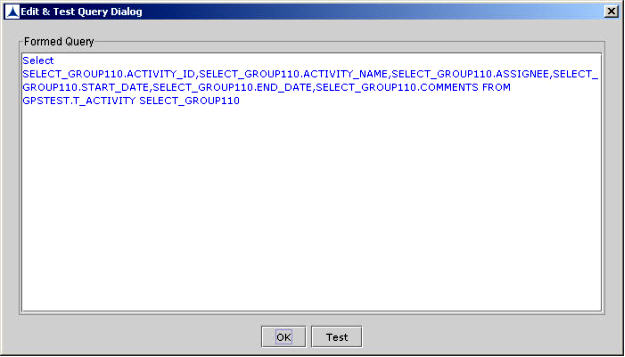
Figure 304:A dialog box displaying the SQL query for LOV
Note: The FDT application gives alias name to each table associated with a Select_Group. The alias name for a table is a combination of select group name and a number starting from 10. For example, consider the select group 'abc' with three tables T1, T2, and T3. The alias names for tables will be: abc10 for T1, abc11 for T2, abc12 for T3. For the second select group in an FDT, the number (suffix) will start from 20.
Run Time Info: Click this tab to specify the run time information for a select group. You can specify run time information for User Entry, Data Entry, and Warning Flag.
User Entry: Specify whether the data entered by user should be accepted or validated. Click the corresponding radio button.
Data Entry: Specify whether the data should be entered in horizontal sheet or vertical sheet.
Warning Flag: Select this checkbox to display a warning message to the user. You can enter / modify the warning message in the text area below the checkbox.

Figure 305
Mandatory |
Select this checkbox if the user must specify a value to this parameter. |
Field Type |
Specify whether a parameter is a field or constant. All the parameters that are selected from a database are fields. On the other hand, the custom parameters that you add must be specified as Constant type. |
Constant Type |
Specify data type of the custom parameters that you add. |
Default Value |
Enter a value that needs to be taken as the default value for the parameter. If you don't select a value from the list, by default, this value will be taken as the value of the parameter. |
Field Name |
The field names that you have entered while selecting the columns appear in this column. |
Display |
Select this checkbox to display this parameter in the Parameter View dialog. Typically, you display only those parameters for which users need to specify values. |
Application Alias |
Enter the application name in which the FDT is going to be used. |
Return Select Group: Select this checkbox when you need the FDT to return all the results of the selected Select Group. This checkbox should be selected only for the last select group in an FDT. If this checkbox is selected for the last select group, it displays all the parameter values corresponding to the parameter values chosen by user for the preceding select groups.
Dynamic Where Clause: Select this checkbox to be able to add 'where clause' dynamically in the SQL statement for the selected Select Group.