![]()
![]()
![]()
![]()
|
|
|
|
|
When you drop the Workflow Disabled node on work area, the following node property sheet appears on the right pane:
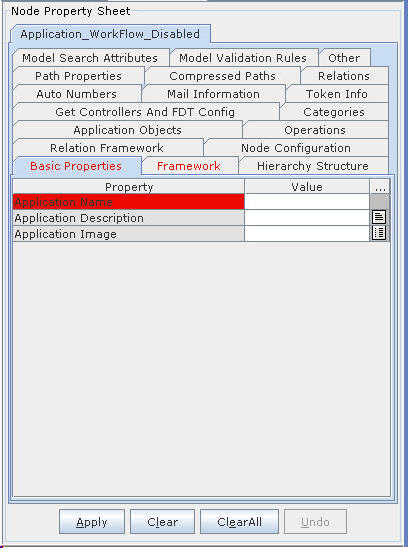
Figure 35:
The table below describes the application properties that you need to enter after dropping the Application node on work area:
Operations |
||
# |
Property |
Description |
1 |
Operation Name |
Enter the name of operation |
2 |
Description |
Enter the description |
3 |
PutController Name |
Enter the name of the Putcontroller |
4 |
Operation Image |
Select the image for operation from the list of values |
5 |
Target screen |
Enter the name of target screen |
6 |
Viewer Instance |
Enter the name of viewer instance |
7 |
Viewer Instance Set |
Enter the name of viewer instance set |
8 |
Model Validator |
Enter the model validator class name to validate the model on client side |
Application Objects |
||
# |
Property |
Description |
1 |
Query Template |
Click on the application link button to display the Query Template screen |
2 |
Menu Configuration |
Click on the application link button to display the Menu Configuration screen |
3 |
Node Grouping & Ordering |
Click on the application link button to display Node Group & Order dialog box |
Node Configuration |
||
# |
Property |
Description |
1 |
Node Type |
Select the Node Type from list of values |
2 |
Description |
Enter the description for selected node type |
The properties under remaining tabs are similar to those described under Properties of Application Workflow Enabled Node topic.