Generate Business Objects
Classes can be defined, generated and viewed using the Generate Business Objects tool.
To generate classes:
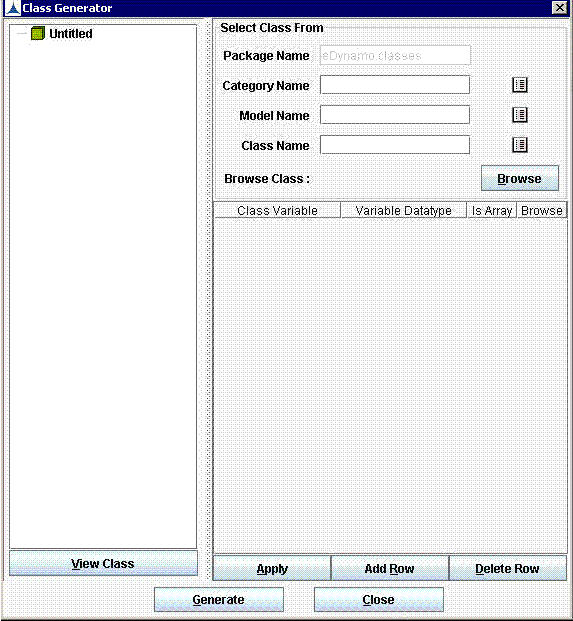
- Click Functions�ETK 5.0�Generate Business Objects. Class Generator is displayed as shown below:

Other Tools and Features of eDapter Toolkit_Figure 4: Class Generator
- Select Category Name, Model Name, and Class Name for querying the required class details quickly when category name or model name is known.
- When category name or model name is not known then click Browse.
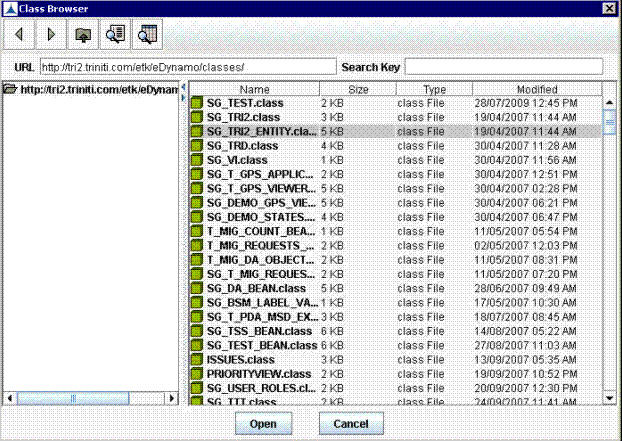
- Then click on the URL in Class Browser screen. A list of class names appear. Select a class from the list or enter value in the Search Key field for further filtering.

Other Tools and Features of eDapter Toolkit_Figure 5: Class Browser
- Now, click Open.The name of the class is displayed at Class Name field in Class Generator dialog box. The details of the class are displayed in the Class Variable, Variable Datatype columns.
- Click Add Row to add a new row to define the class variable. Enter a name for the class variable in the Class Variable column. Select the data type and other details for the class variable.
- Click Apply to commit the details. Add other class variables in a similar way.
- Click Delete Row to delete the row selected.
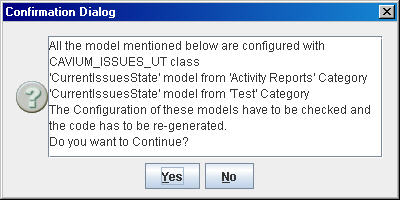
- Click Generate to generate the class. The following message will be displayed:

Other Tools and Features of eDapter Toolkit_Figure 6: Confirmation Dialog
- Click Yes. A message is displayed on successful generation. The class is displayed on the left column along with the class variables.
- Select the class and click View Class to display the code for the class generated.


