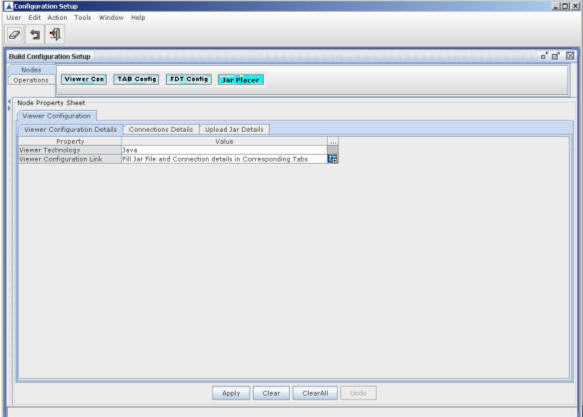
To add a Viewer Instance Set and a Viewer Instance to an application:

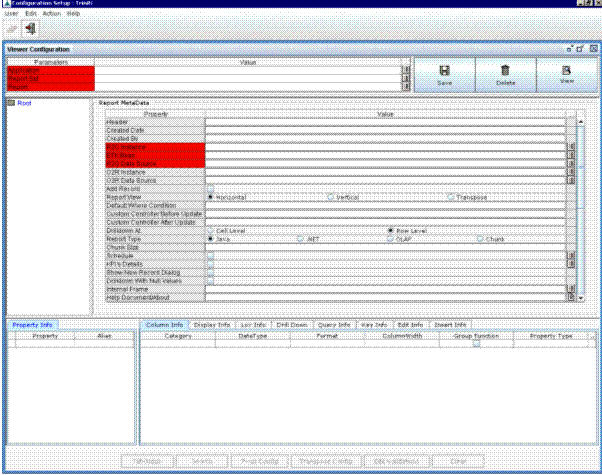
Figure 235:

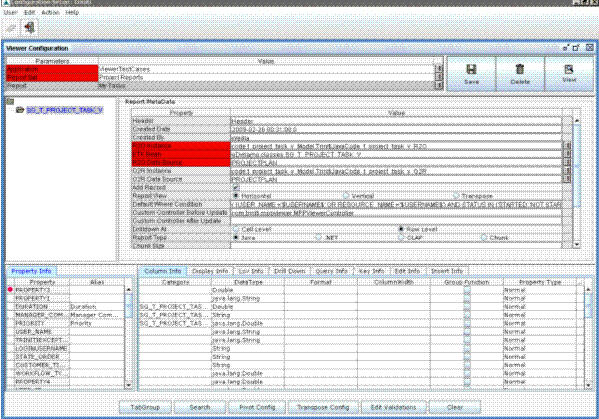
Figure 236:
Application: Select an application (for which a report is to be configured) from the list of values.
Report Set: Select a required viewer instance set (available for application) from the list of values.
Report: Select (from the list of values) or enter a name for the report,which is also referred to as form. Enter properties for the report.
Header: Enter text that you want to appear as header on the form.
Created Date: The date on which the viewer instance is created is displayed.
Created By: Name of the person who created the view is displayed.
R20 Instance: Specify an eDynamo instance that fetches data from the database and creates data objects.
ETK Bean: Select/Enter an eDynamo class on which the form is based. Click in the third column to invoke a dialog that lists the available eDynamo classes. Select an eDynamo class that handles the viewer instance.
R20 Data Source: Specify EIS (Enterprise Information Systems) configurator that encapsulates the details of database connection and schema from which data is fetched.
O2R Instance: Specify an eDynamo instance that updates data from the data objects to database.
O2R Data Source: Specify EIS (Enterprise Information Systems) configurator that encapsulates the details of database connection and schema to which data is updated.
Add Record: Select this checkbox to add new record(s) to database.
Report View: Specify a style in which you want the report to appear. You can have horizontal orientation or vertical orientation or transpose orientation.
Default Where Condition: Enter the condition for querying from database.
Custom Controller Before Update: Enter the name of the class that needs to be executed before updating a view.
Custom Controller After Update: Enter the name of the class that needs to be executed after updating a view.
Drilldown At: Specify at what level you require drilldown list (a pop-up menu that lists other viewer instances or applications that you can invoke from the viewer instance) for the viewer instance (form). Select Cell Level if you want a drop-down list to appear on right-clicking in cells of a column in the form. Select Row Level if you want a down list to appear on right-clicking any cell in the form.
Report Type: Select the report type as Java View for Java-based Viewer or select .NET View for .NET Viewer.
Chunk Size: Enter the chunk size after selecting the Chunk View radio button. The size enter at this field reflects the number of row in a view.
Schedule: Select the checkbox for scheduling the report (for creating an excel and sending excel through mail). Click on the LOV beside the checkbox to display the Scheduler dialog box. Select the parameters and click OK.
KPI's Details: The Key Performance Indicator values can be set only after entering the Scheduler details.
Show New Record Dialog: Select this checkbox for providing Add New Record Dialog box for adding a new row in a view.
Drilldown with Null Values: Select this checkbox when the drilldown should appear for a view having a column containing Null value.
Internal Frame: Enter the custom internal frame name.
Help Document/About: the help document that can be accessed from a view is uploaded at this field. The message "Report Exists" is displayed when the document is already uploaded.
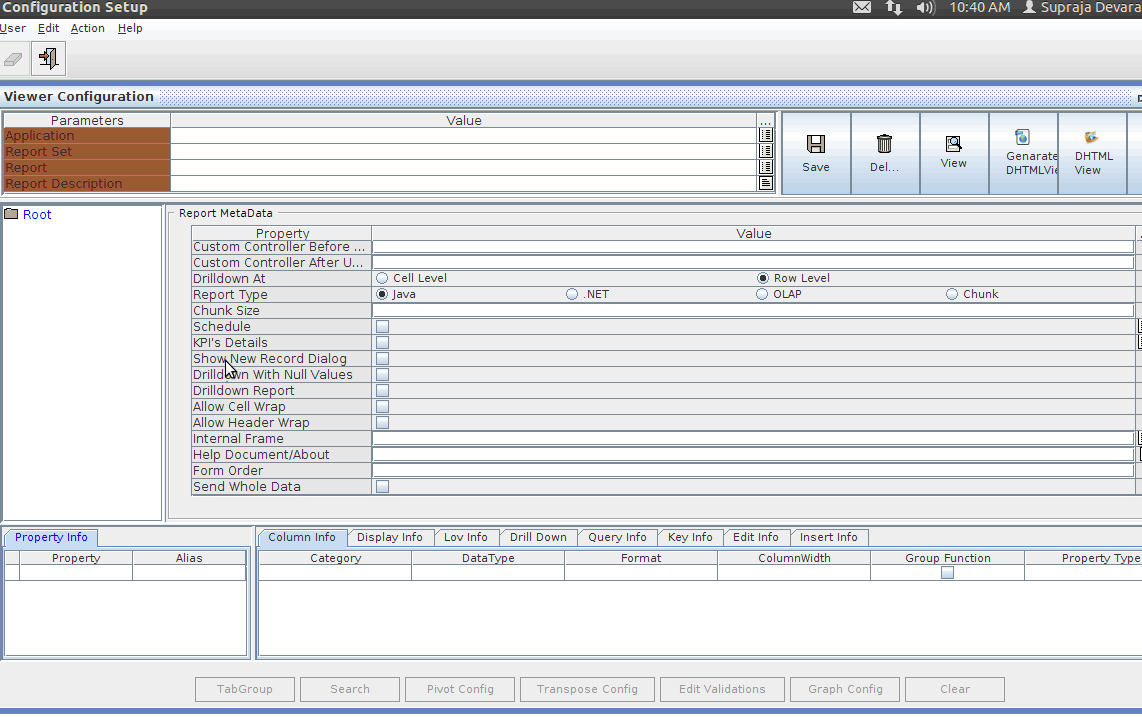
After entering properties for the viewer instance, you need to configure properties of the Java class that you specified for the viewer instance. The following screen displays properties of the Java class on the lower part of the right pane:

Figure 237:
Alias Name: Give alias name to the properties. Alias names of properties appear on the viewer instance screen (form).
SEND_WHOLE_DATA: checkBOx
Select this checkBox when u want send all rows in a report in updation of row.if you not select this checkbox then only editedrow is sent(oldDatahashmap)
