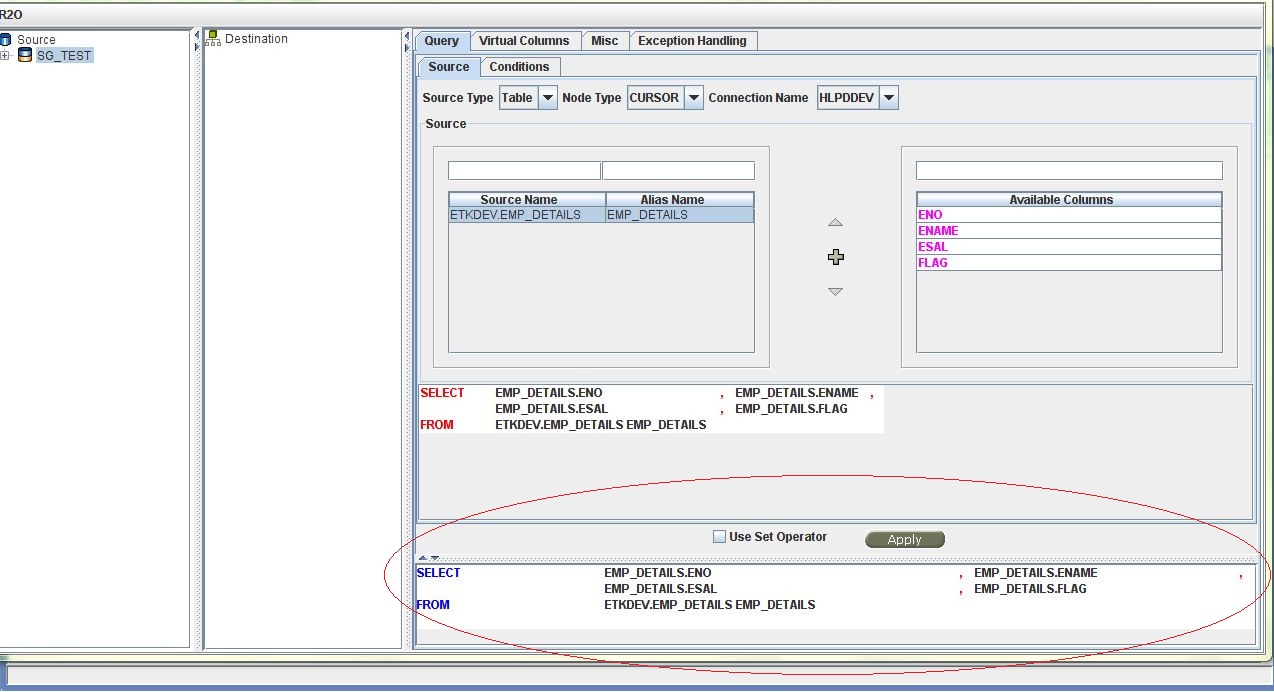
Click on the select or cursor, a new configuration panel appears in right side, where a query can be configured / created.
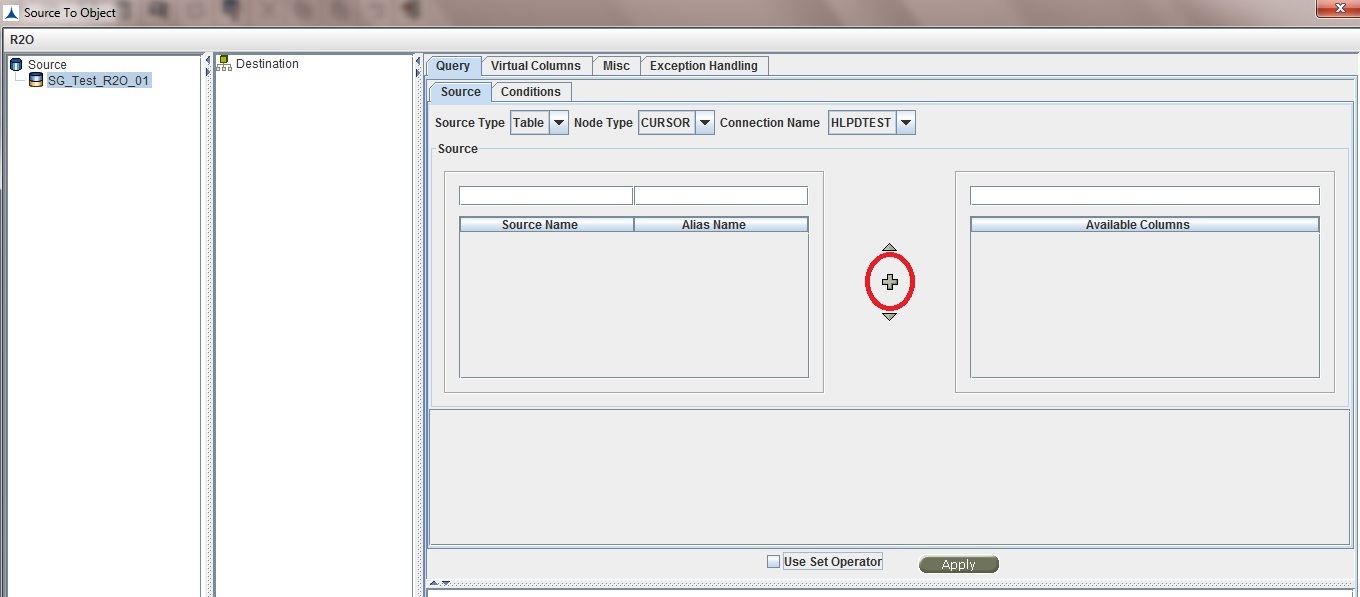
Nodes Configuration_Figure 8: Options to Create Query
Click on the '+' button as shown in the above figure. First time Connection Not Found dialog is displayed as shown below.
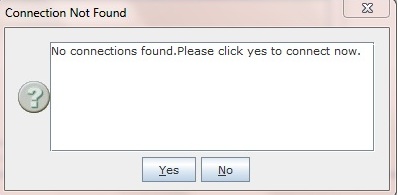
If Click Yes Connection Manager Dialog is displayed as show below.
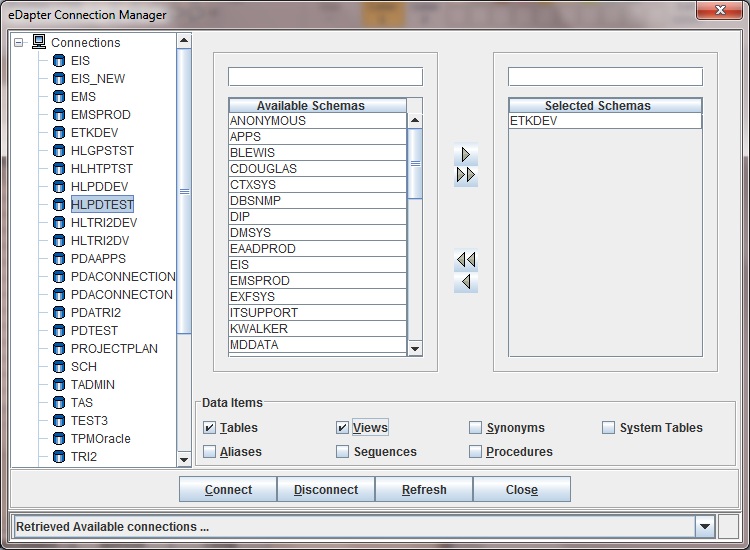
Click Yes Table Selection Dialog is displayed as shown in Nodes Configuration_Figure 9 from where the tables of a particular database/schema connected through Connection Manager can be selected. More than one table can be selected at a time from different database/schema. But one select or cursor will have tables from one database only.
Select the table by typing the name in TABLE SEARCH text box or by clicking on the table name from the list under Tables tab and click Add.
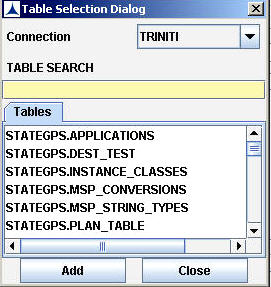
Nodes Configuration_Figure 9: Adding Tables
Selecting Columns from Tables
Once a table is selected it is displayed on the Source tab under Source Name along with its columns under Available Columns. Columns within a table can be selected by right-clicking on the Available Columns list and selecting a single column or all the columns at a time. After selecting the columns, a partial query is built for the selected list of columns.
Select all the columns in the table by right-clicking on the Available Columns list and select All Columns option.
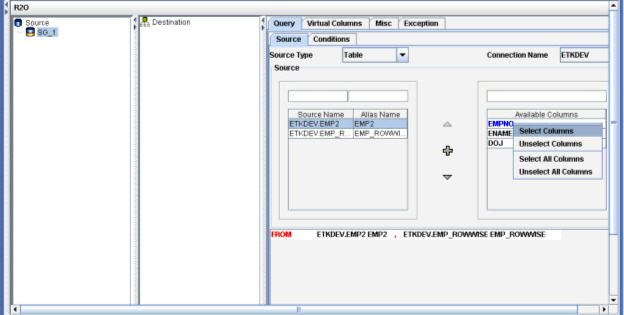
Nodes Configuration_Figure 10: Selecting Columns
A SELECT query is added for the columns selected as shown in the figure below.
