In this section, we discuss how to map the Source to Object (also known as R2O). In R2O, source is a table and destination is a java object.

Nodes Configuration_Figure 1: Configuring R2O node
Click on the R2O node in the Nodes Area and drop it on the Work Area. Now click on the R2O node in the Work Area to invoke a Node Name dialog box.
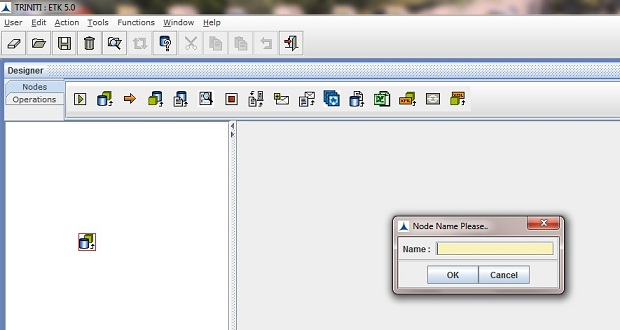
Nodes Configuration_Figure 2: Configuring R2O node
If the user needs to use the existing R2O then click Cancel button and go to R2O Menu option and select Load from Configured R2O
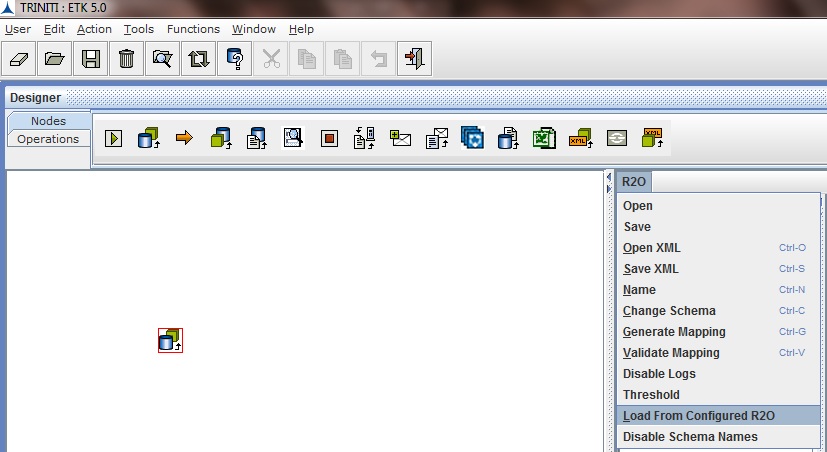
Nodes Configuration_Figure 3: Configuring R2O node
Click on Load From Configured R2O it invoke a dialog box that lists existing R2O Files. Select R2O from list and click OK
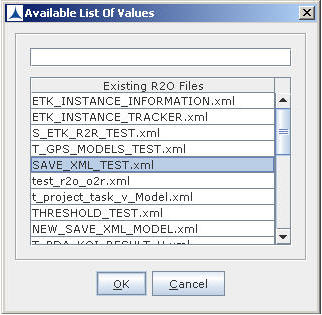
Nodes Configuration_Figure 4: Configuring R2O node
The following screen appears.
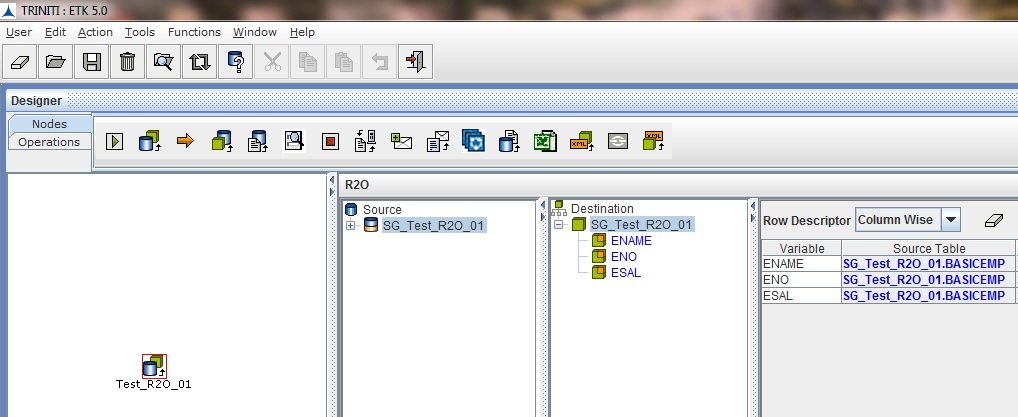
Nodes Configuration_Figure 5: Configuring R2O node
If the user needs to create a new R2O node then enter the node name in Node Name Dialog after dropping the R2O Node
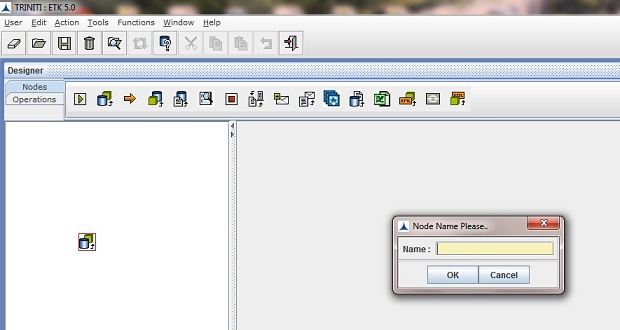
Nodes Configuration_Figure 6:
Enter the name for the node and click OK. If the user does not enter the name or Cancel is clicked then the default name is given to the node. The R2O frame is displayed on the right pane as shown below adjacent to the main frame. It is mainly divided into two distinct parts, Source and Destination for the data.

Nodes Configuration_Figure 6: