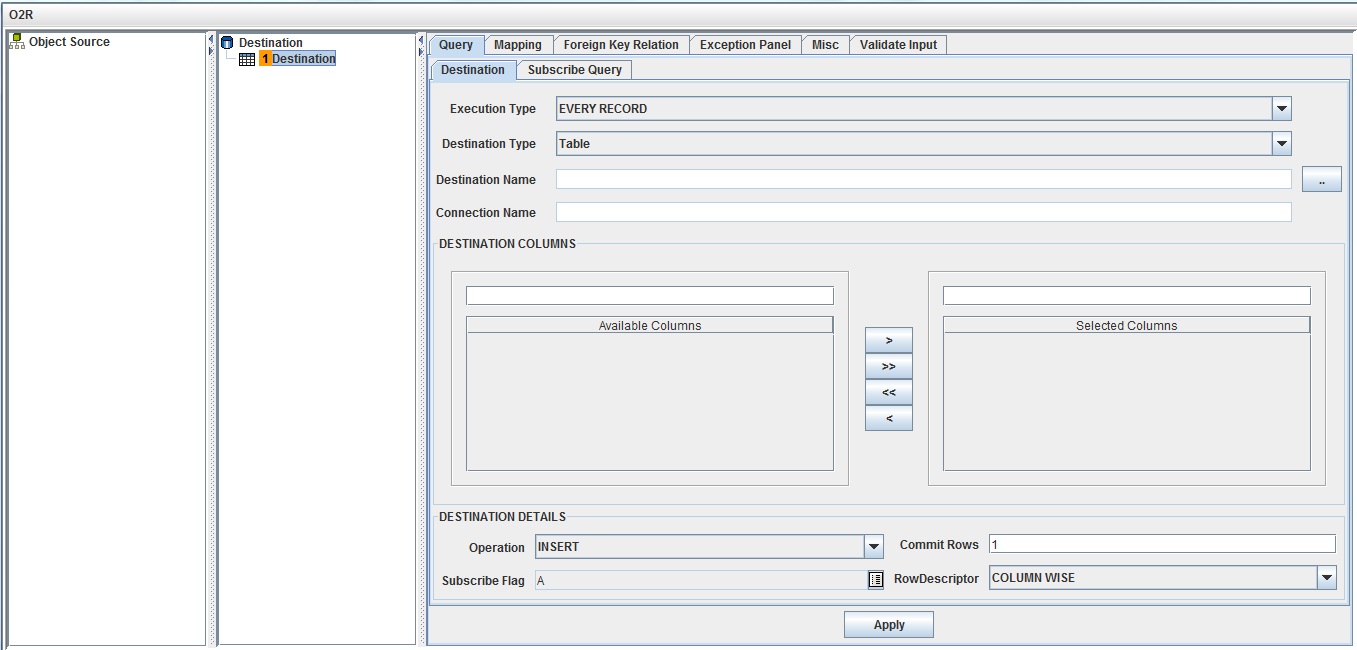
The destination nodes can be configured. Select the destination node and four tabs, namely, Query, Mapping, Foreign Key Relation, and Execption Panel are displayed on the third pane as shown in Nodes Configuration_Figure 48.
Once a new node representing destination is added on the destination tree, the configuration pane is visible on the right side. The destination configuration pane consists of the following fields:

Nodes Configuration_ Figure 51: Configuring Destination
Select the execution type from the drop-down list. Select "EVERY RECORD" when all records in the source needs to be executed for the destination object. Select "PRE PROCESS" when only the first record in the source needs to be executed for the destination object. Select "POST PROCESS" when only the last record in the source needs to be executed for the destination object.
Destination Type
Select the type of destination from the drop-down list. Destination can be a relational table.
Destination Name
Select the destination table on which operations such as Insert, Update need to be performed.
Connection Name
Represents the connection from which the table is being picked. This is populated automatically once the table is selected.
Available Columns
These are the columns available for the selected destination.
Selected Columns
Select required columns from Available Columns using the buttons provided.
Operation
Select the nature of operation to be performed on the destination. Possible operations on destination are insertion, updating, deletion and update if not insert (If no row to update then insert). While updating, select Update operation.
Commit Rows
It sets the interval to commit rows in the destination tables. Set it to '1' to commit for every row updated.
Row Descriptor
It sets the values coming from one object in the source into one row in the destination side or splits into multiple rows while performing destination operation based on the selection from the drop-down list.
Data Exception
Specifies how data exception should be handled when placing the data into an object. There are three modes which can be selected.
Exception Handling
Specifies how an exception should be handled when SQL exception occurs.
The following are the fields which we need to set for the first Destination node.
Add Adjacent Destination to the main destination node
Destination name � Select the destination table (from the destination database)
Selected columns � Select the required columns
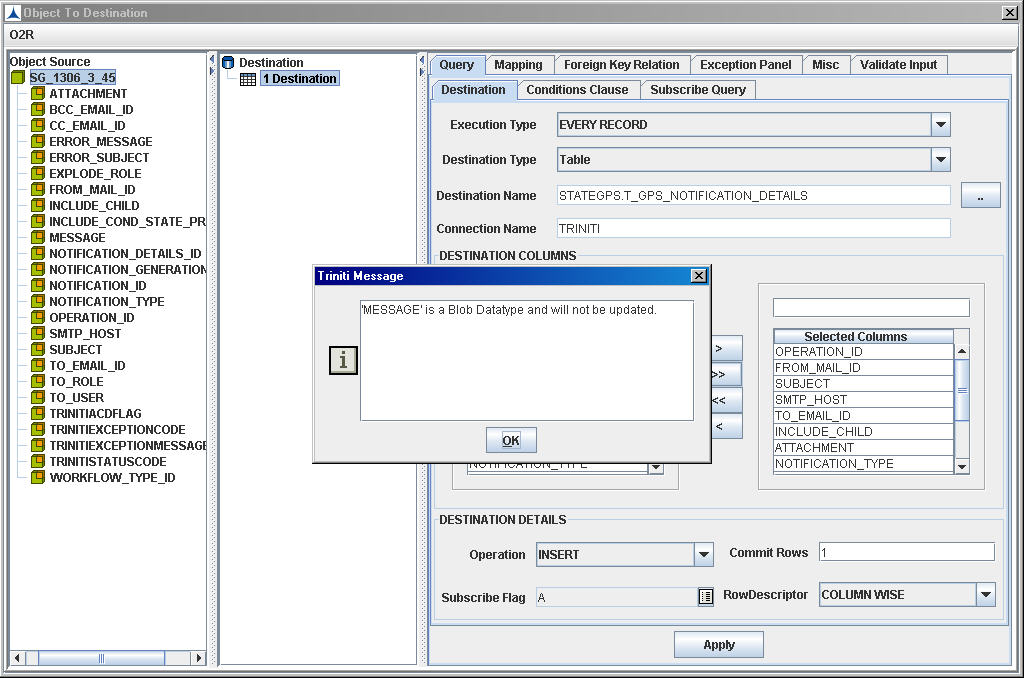
when the selected columns contain Blob type data, then the following message box appears.

After clicking on OK button, the Column Name of Blob Type data will be included in the Destination table but no data will be transferred to that column.
Operation � Select Insert or Update as required
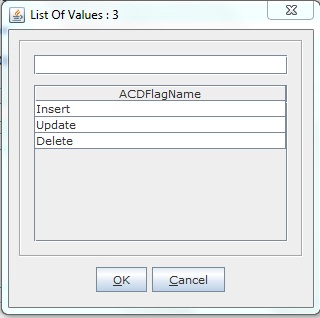
Subscribe Flag - Select the ACD Flag Name from LOV for which the current destination should be executed.

User can even select multiple Flags.

Commit Rows � Enter '1
For Example:
For the Destination Node - MES.T_ROUTINGS_API we can see a Conditions tab. Select it and specify the following just as in R2O conditions tab
Linking Condition - Where
Left column name - T_ROUTINGS_API.ROUTING_ID
Condition Operator - =
Right Variable Name - T_ROUTINGS_API.ROUTING_ID
If a child node is to be added to the above node,
Destination name �Select the destination table (from destination database)
Selected columns � Select the required columns
Operation � Select Insert/update
Commit Rows � Enter '1'
Destination name � Select the destination table (from destination database)
Selected columns � Select the required columns
Operation � Select Insert/Update
Commit Rows � Enter '1'