In this section, we discuss how to map the Object to Source (also known as O2R). In O2R source is a java object and destination is a table.

Nodes Configuration_Figure 40: Configuring O2R node
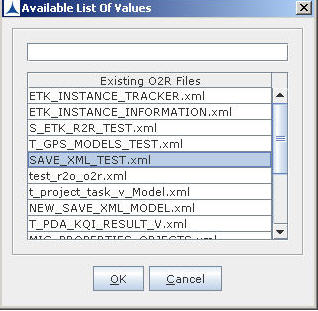
Click on the O2R node in the Nodes Area and drop it on the Work Area. Now click on the O2R node in the Work Area to invoke a dialog box that lists existing O2R files.

Nodes Configuration_Figure 41:
If the user needs to use the existing O2R file then select the required file from the list and click OK. The following screen appears:
Nodes Configuration_Figure 42:
If the user needs to create a new O2R node then click Cancel to display a Name Popup.

Nodes Configuration_Figure 43:
Enter the name for the node and click OK. If the user does not enter the name or Cancel is clicked then the default name is given to the node. The O2R frame appears.
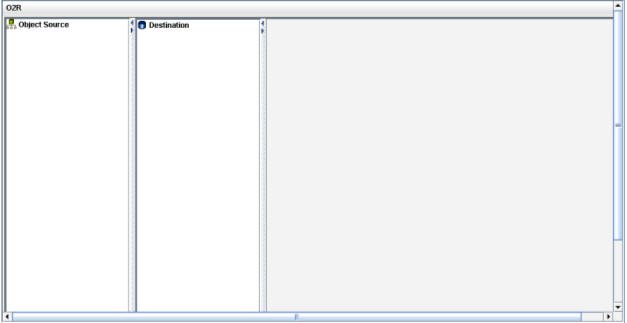
The O2R Configuration Dialog consists of three panes (the third pane will be displayed later). The left pane is used for building source class tree. The middle pane is used for building destination table structure. The last pane is the screen for configuring destination and for mapping destination columns. This displays the O2R configuring frame. This screen will be visible on adding a new destination node in the destination tree.

Nodes Configuration_Figure 44: O2R Mapping
The following are steps to be followed to configure O2R node:
Note: If there are two selects or cursors adjacent to each other then the node on which the focus is, gets deleted. If parent select or cursor, with child selects or cursors attached to it, is deleted, all the child selects or cursors are deleted.