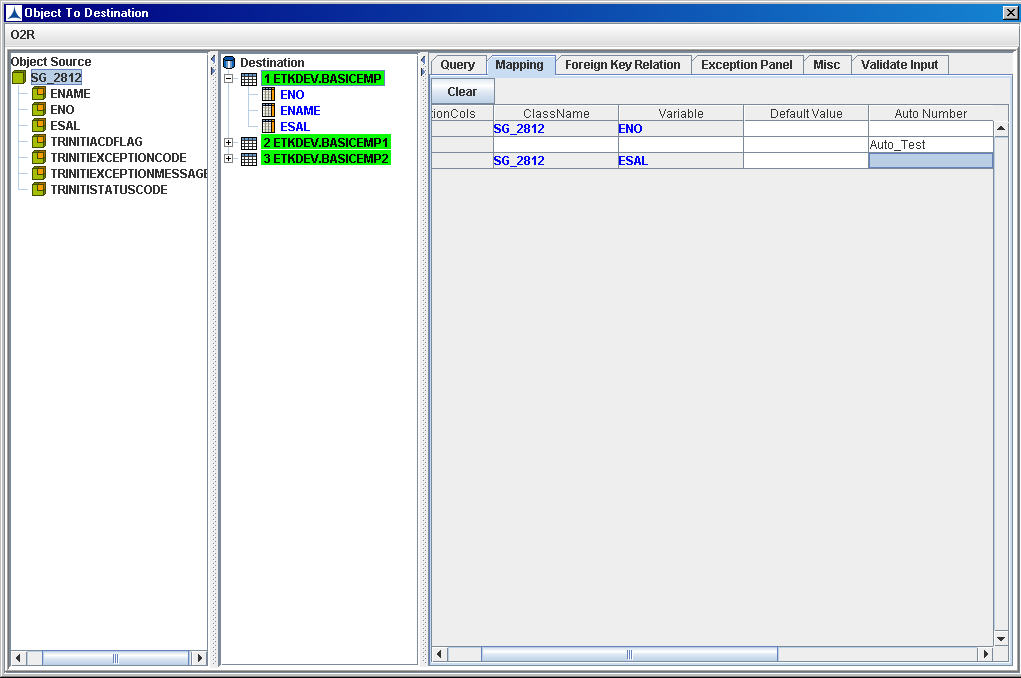
Mapping can be done by dragging the mouse pointer from Object Source node to Destination node in the O2R frame. By doing so, all the columns are mapped at a time. However, mapping of one column can be done by placing the mouse pointer on a particular column in the Object Source and dragging it to a column in the destination node.
Specifying Mapping for Destination
The Mapping tab in the destination configuration pane displays mapping table.
To map the columns, just drag and drop the source side classes to destination side tables. The mapping will be done automatically and will be visible on the right pane under the Mapping tab.
To enter a default value, click on the row of a Destination Column for which the default value is to be added and click Clear. Enter the value at Default Value column and press [Enter] key. Click Query tab and Click Apply.
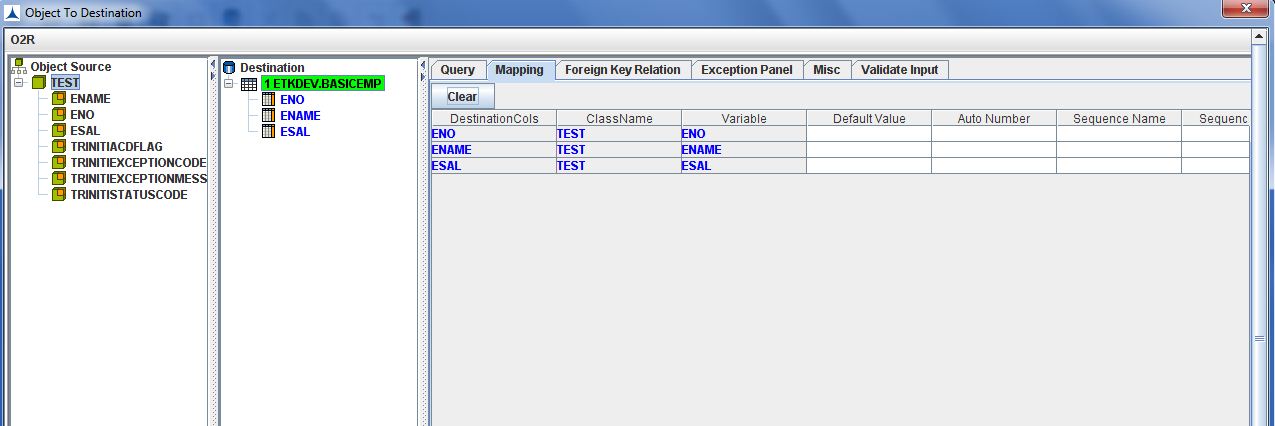
Nodes Configuration_Figure 52: Mapping Destination
The mapped columns are displayed in the Mapping tab as shown in the above figure.
Generate Class and AutoMap
This option is used to generate and map classes automatically based on the table structure.

Nodes Configuration_Figure 53: Generate Class and AutoMap
The class is generated automatically and is displayed under Object Source.
Once a class is automatically created by Generate Class and AutoMap option, the mapping of columns is displayed in the Mapping tab as shown below: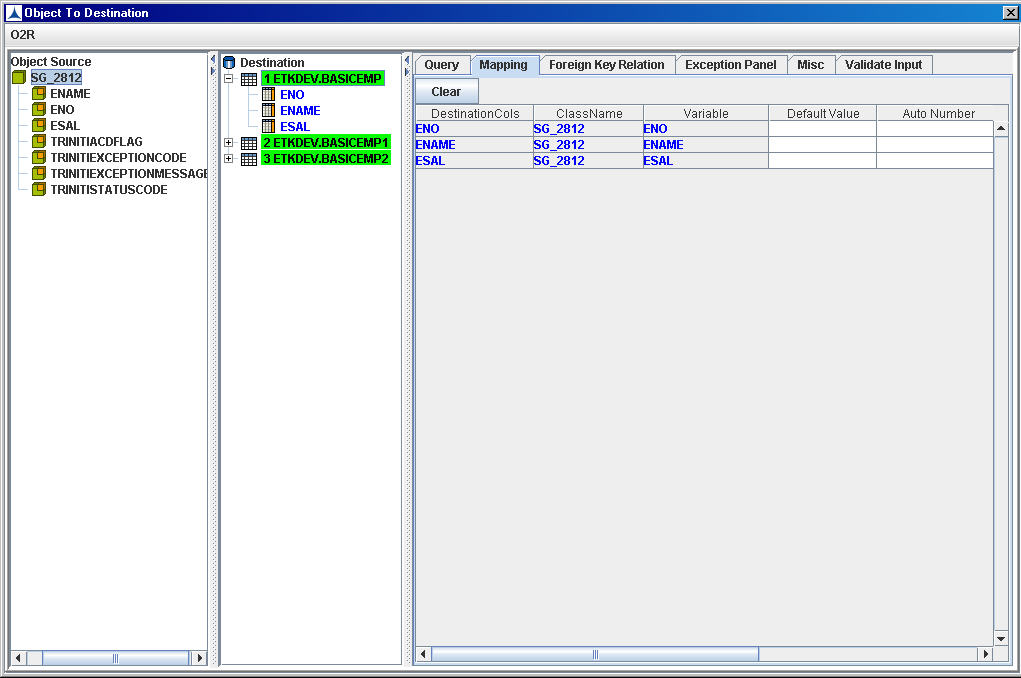
Nodes Configuration_Figure 54: Auto mapping of columns displayed in the Mapping tab
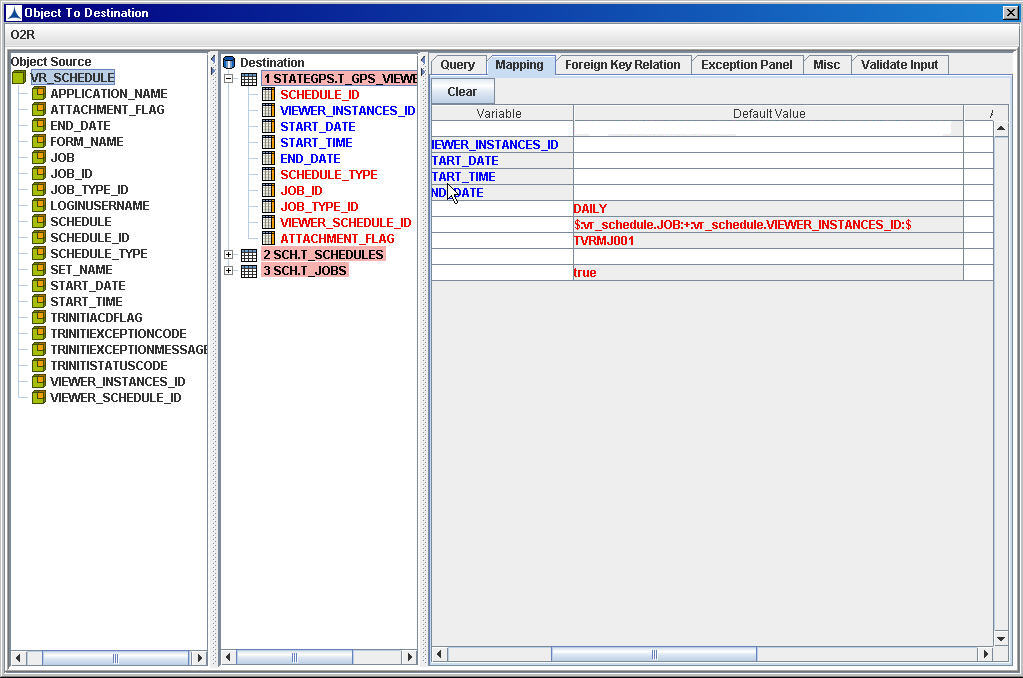
The Default Value can also be a column name or combinations of column names.
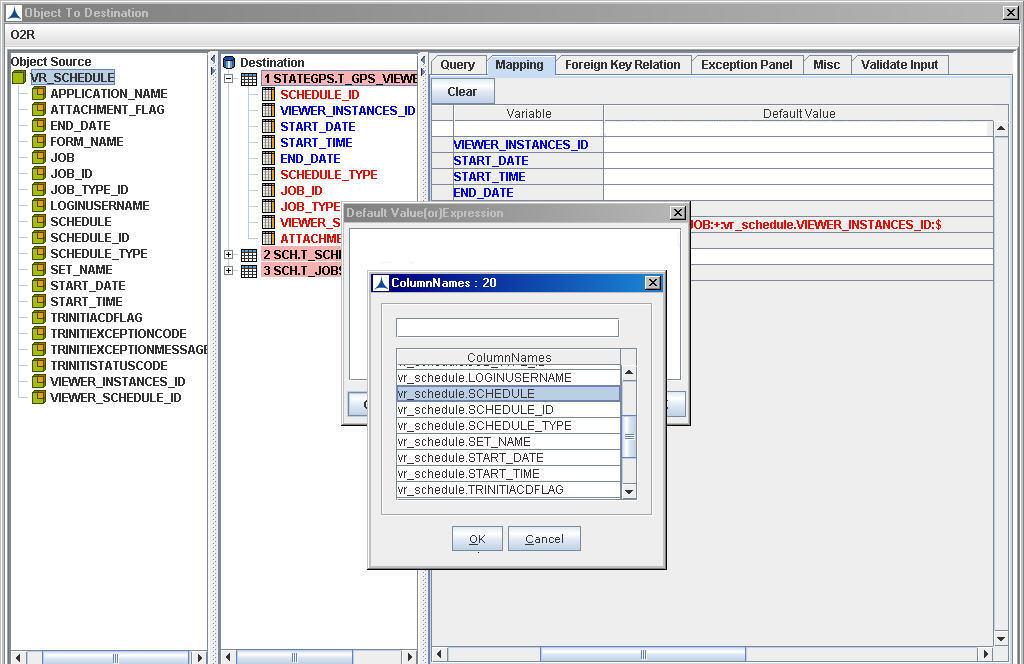
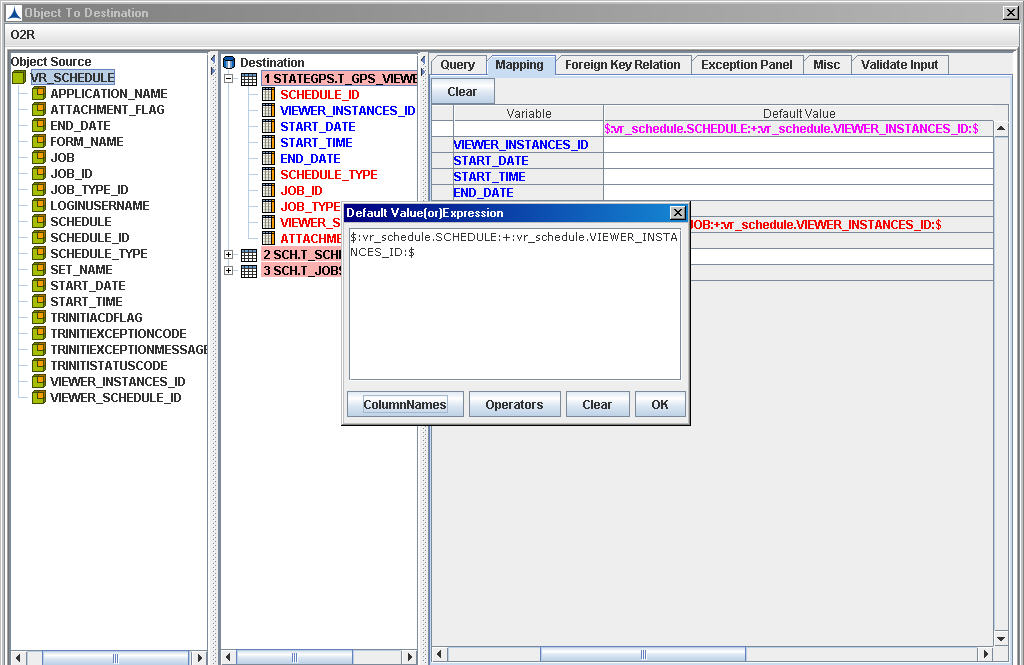
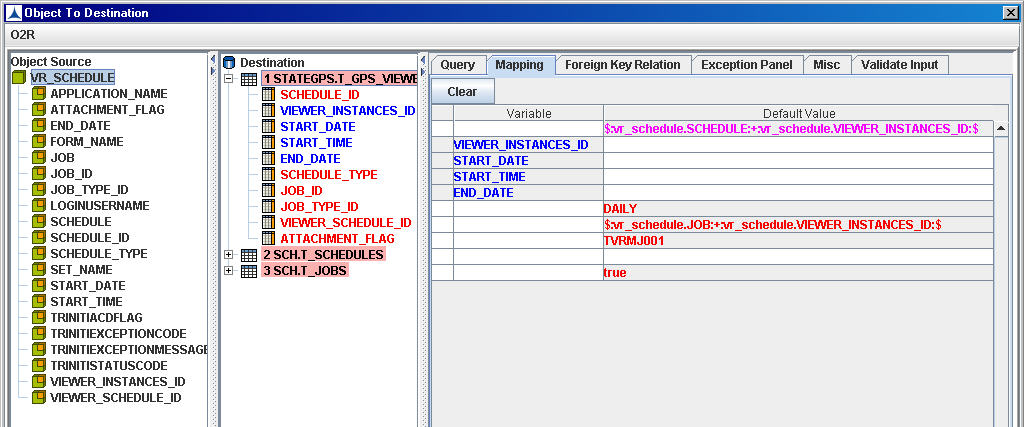
Configuring Auto Number for Destination Columns
The eDapter Toolkit allows the user to configure an Auto Number for destination columns in the table.
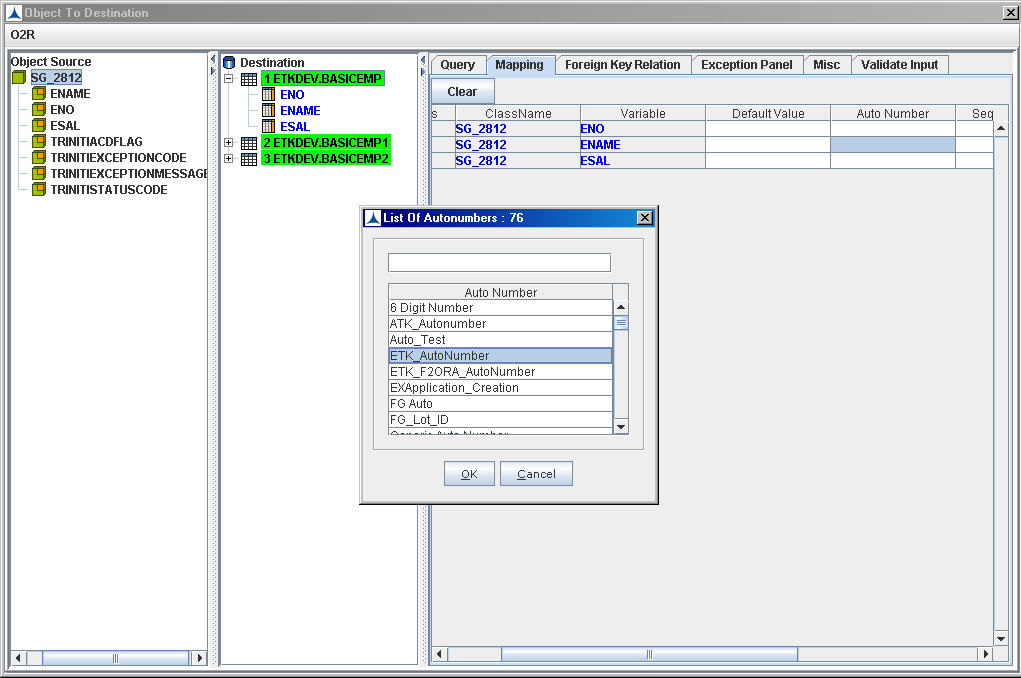

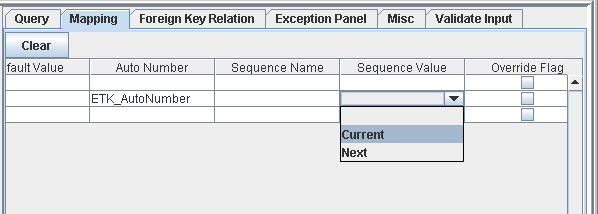
After selecting the Auto Number, the value "Next" will be displayed as default at Sequence Value column.
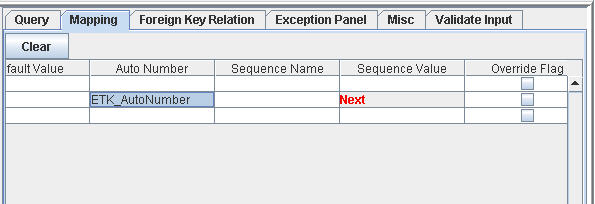
Select the Sequence Value as "Current" from dropdown list when the Auto Number should not be incremented and only the current Auto Number is to be used.
