The F2ORA node is used when data needs to be transferred from File to database table. In this section, we discuss how to map the File to Destination. In F2ORA, source will be a file and destination will be a table.
Prerequisites for F2ORA
Below are the prerequisites for running F2ORA model:
For Example: If ETK is using the sql loader which is present at path <ORACLE-HOME>/bin and we are loading data into DEV database then DEV tns entries must be there in "tnsnames.ora" file at <ORACLE-HOME>/network/admin/.
For Example: If "tnsnames.ora" file is available at path <ORACLE-HOME>/network/admin/<User defined directory>/, then we need to enter value for TNS_ADMIN key in "actualpath.properties" file as mentioned below (TNS_ADMIN key will be already in the file, only value needs to be entered).
TNS_ADMIN=<ORACLE-HOME>/network/admin/<User defined directory>/tnsnames.ora (no spaces allowed before and after '=').
The following are steps to be followed to configure the F2ORA node:
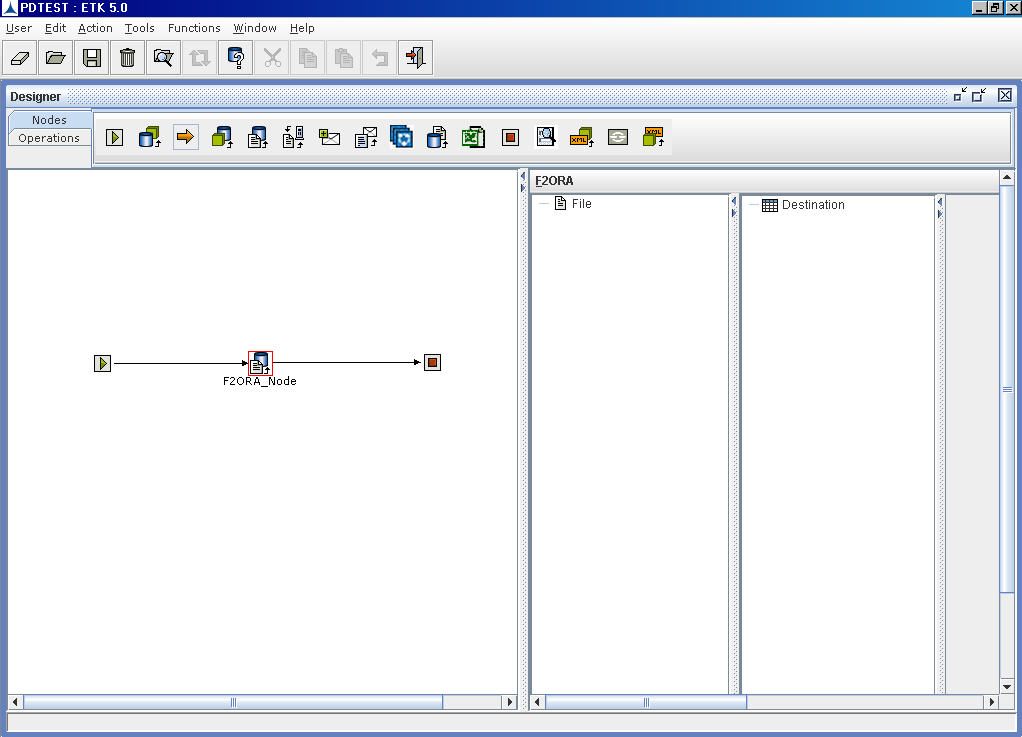
Nodes Configuration_Figure 74:
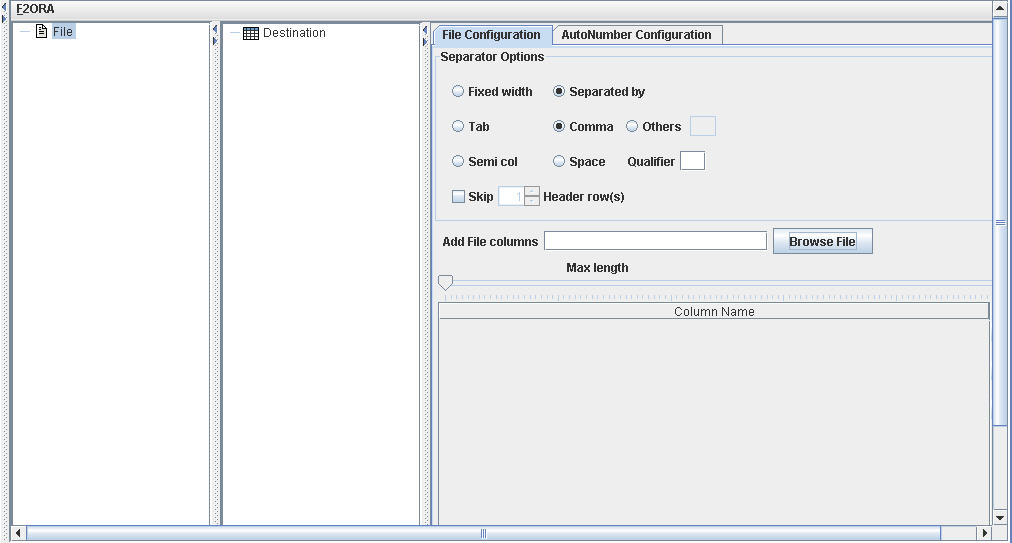
Nodes Configuration_Figure 75:
User-defined configuration - Users can select a delimiter or specify a character which acts as the separator in the file.
Select the separator from Separator Options pane. The options are:
Semi Colon
Tab
Space
Comma
Others - Type a character which should act as a delimiter.
Qualifier: Specify a character like double quote (") or single quote (') to act as a text qualifier. By default it takes double quote (") as Qualifier when Apply button is clicked.
Fixed Type File Configuration: Select Fixed Width to specify the position of the fields in the file as shown in Nodes Configuration_Figure 81.
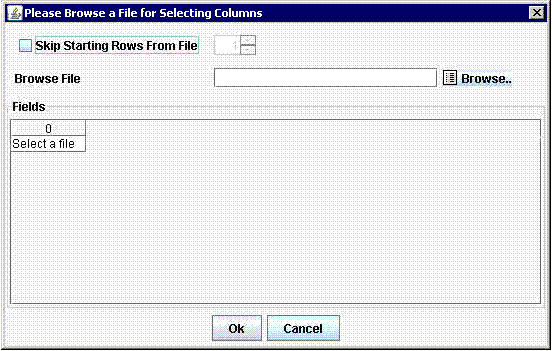
Nodes Configuration_Figure 76:
![]()
The Open dialog box is displayed as shown in the figure below:
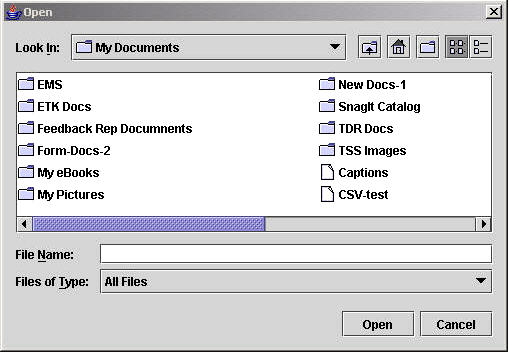
Nodes Configuration_Figure 77:
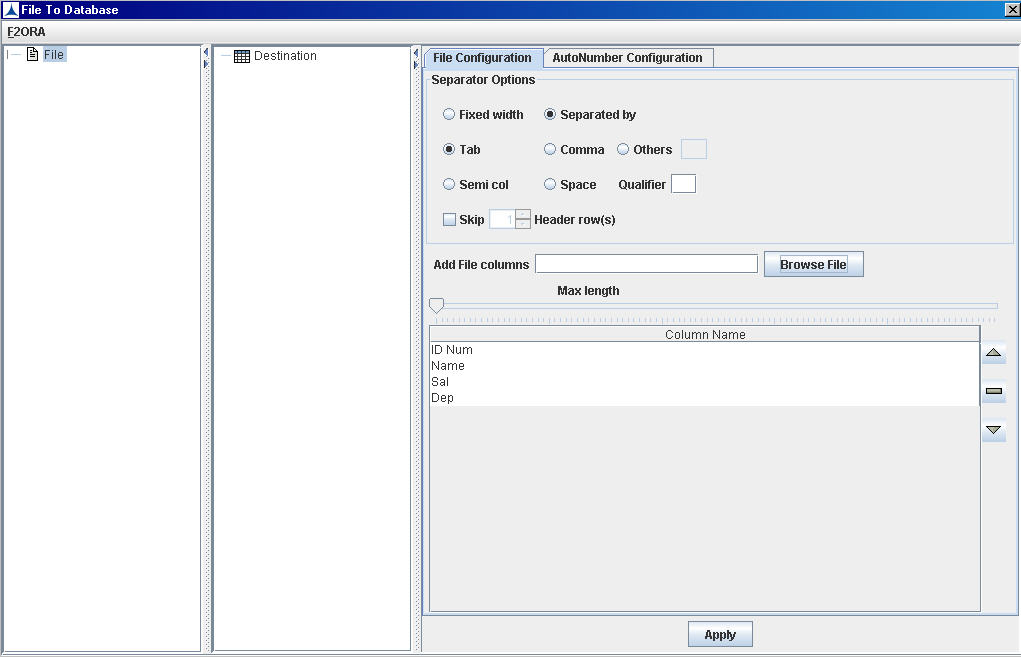
Nodes Configuration_Figure 78:
The column names of the selected file are displayed in the Column Name field as shown in the above figure.
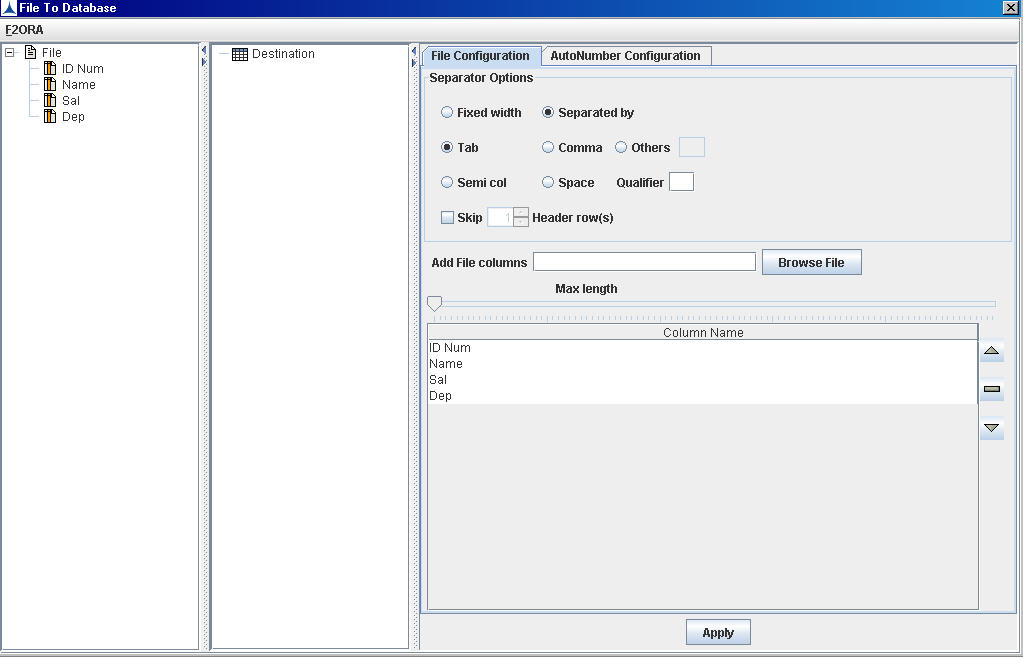
Nodes Configuration_Figure 79:
When a File that contains empty Column Name is selected, then a message as shown below will be displayed on clicking Apply button.
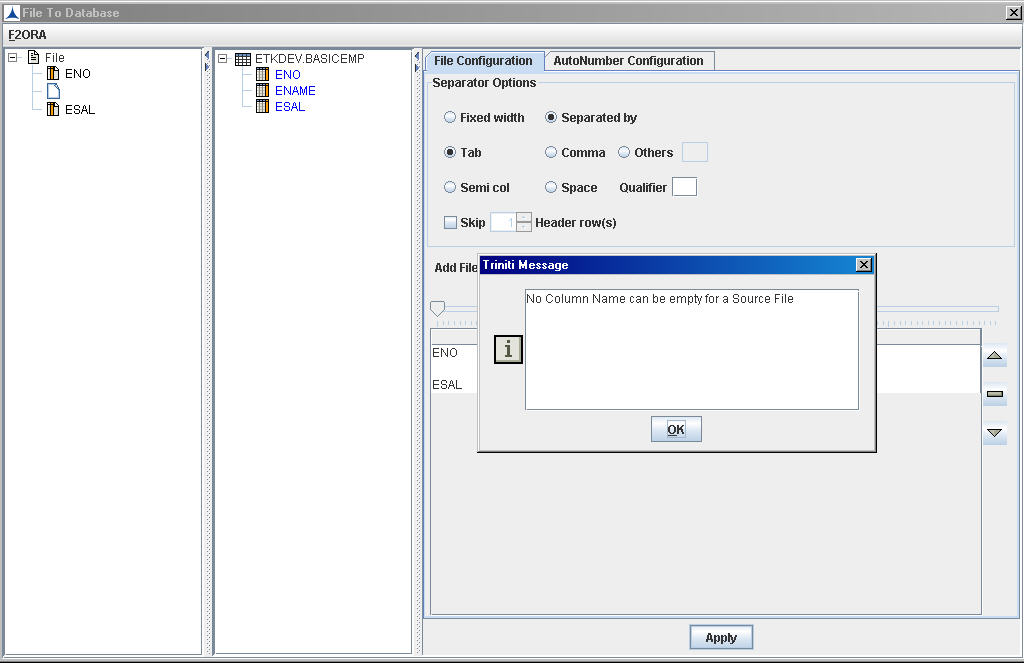
Note: The same message as shown in above figure will be displayed on generating code for an existing model, for which the source file contains empty Column Name.
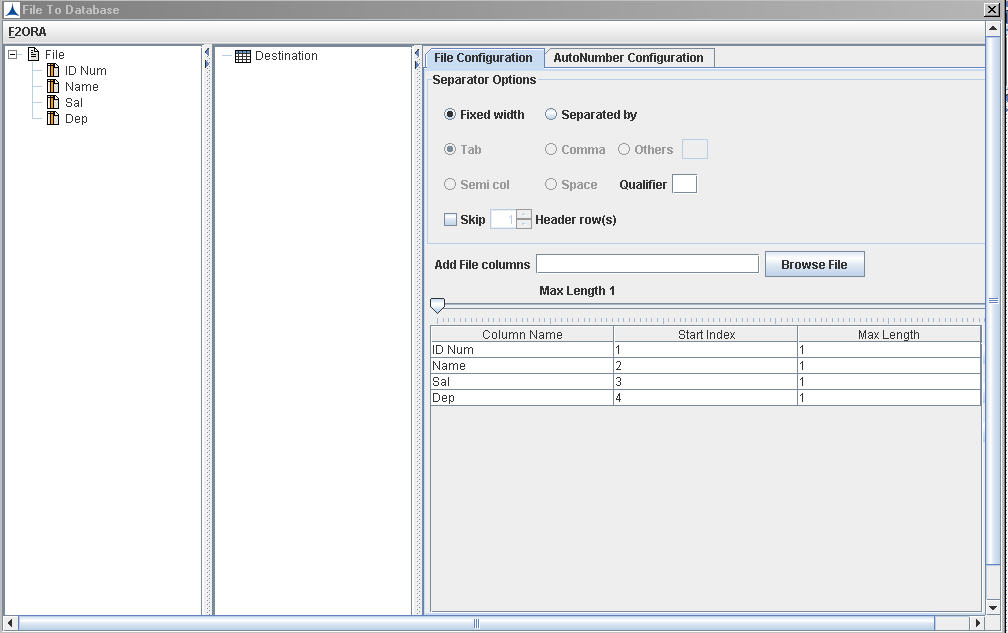
Nodes Configuration_Figure 80:
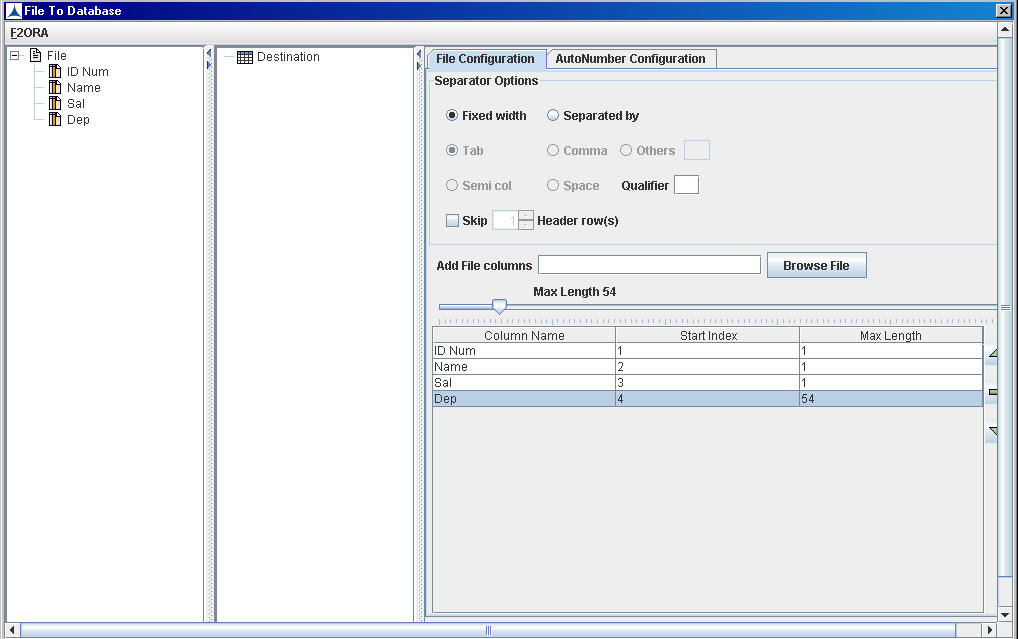
Nodes Configuration_Figure 81:
The user can configure auto number for F2ORA node using Auto Number Configuration tab.
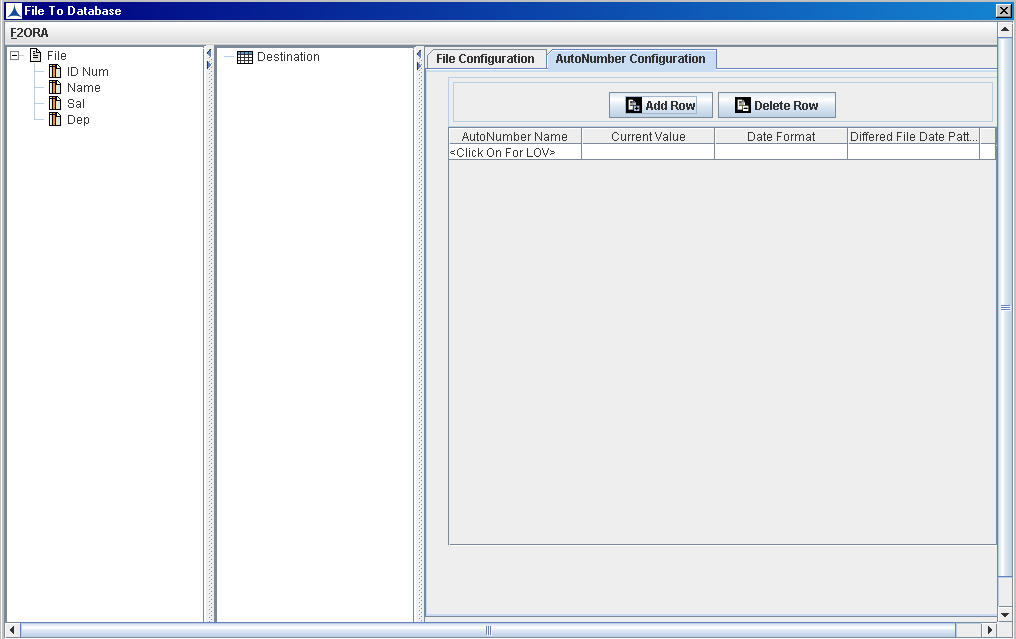
Nodes Configuration_Figure 82:

Nodes Configuration_Figure 83:
If the AutoNumber with name that is used by any other model is added then the following message box appears.
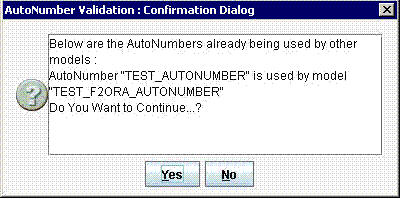
Nodes Configuration_Figure 84:
In Auto Number Configuration tab, the auto number cannot be created; it can only be added/applied to the F2ORA node configuration. To create an auto number, the user needs to navigate to Application Objects module through Triniti Portal.
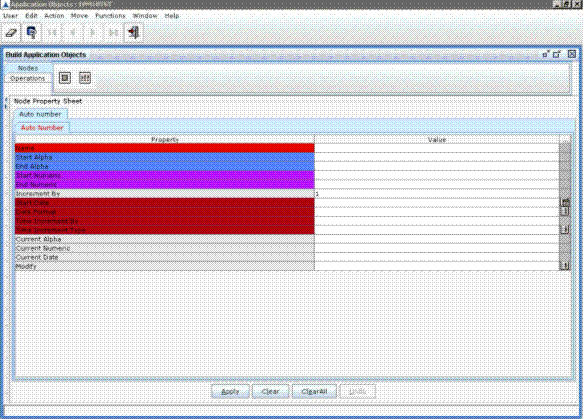
Nodes Configuration_Figure 85:
To create an Auto Number:
In the Application Objects build frame, click on the Auto Number node in the nodes area. The property sheet for Auto Number node appears. Enter the values for required fields. Now, click Apply and then click Operations�Commit. For more information on Auto Number creation refer to TAB-User Manual.
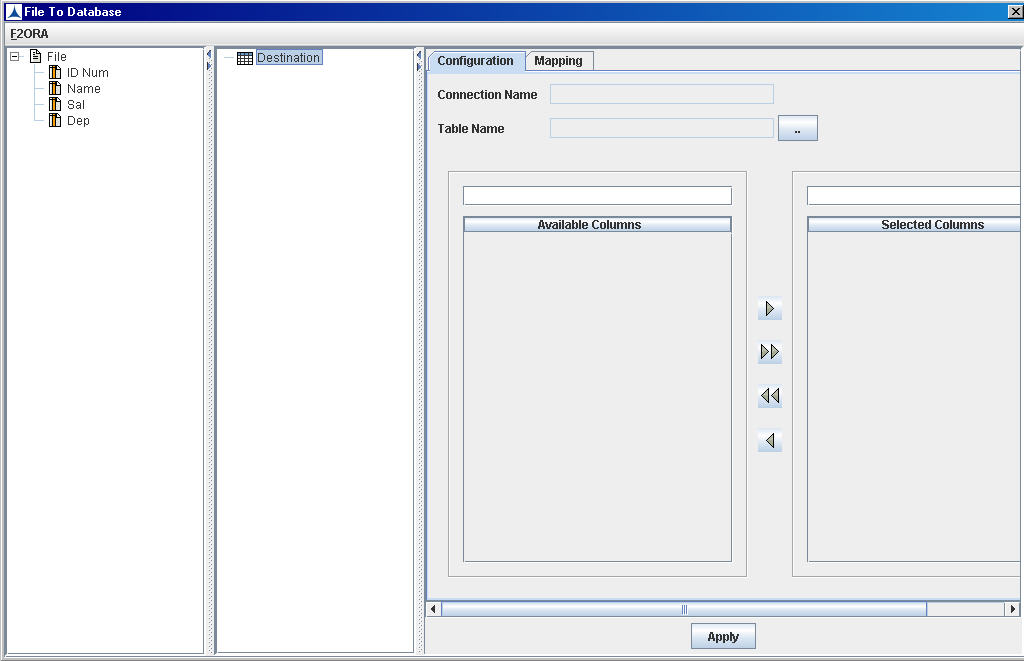
Nodes Configuration_Figure 86:
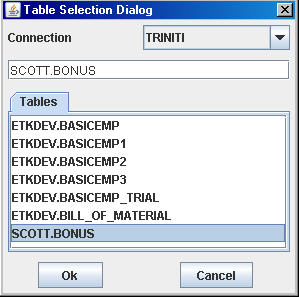
Nodes Configuration_Figure 87:
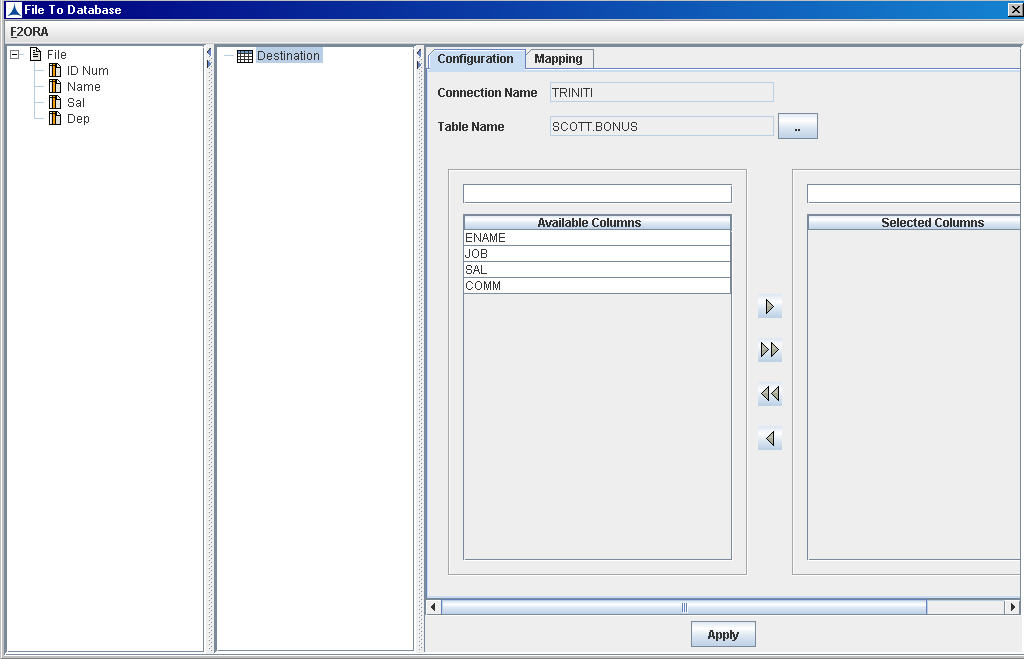
Nodes Configuration_Figure 88:

Nodes Configuration_Figure 89:
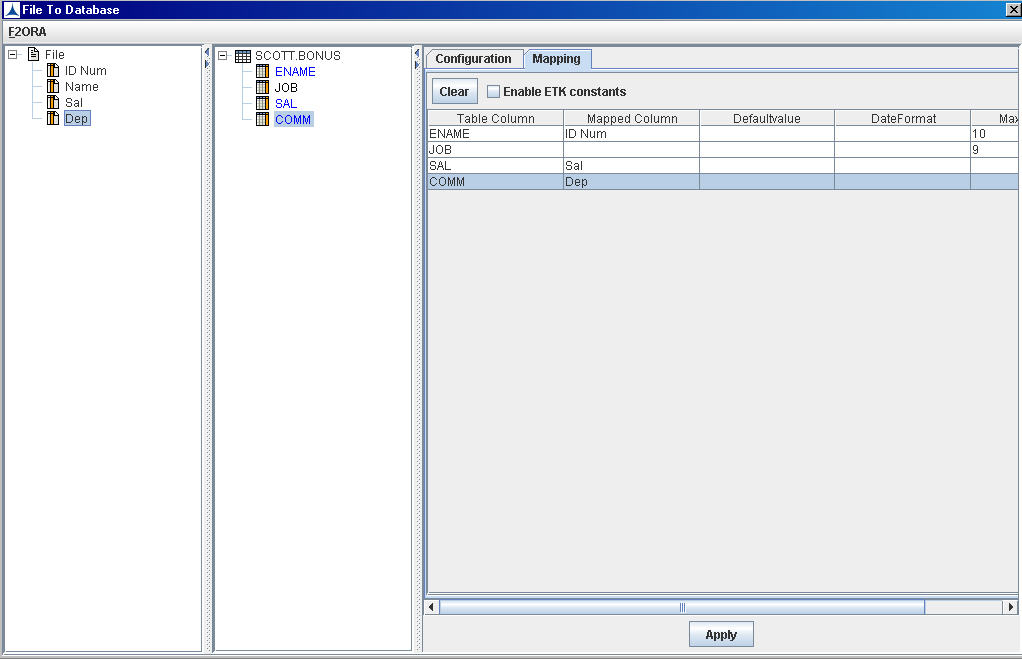
Nodes Configuration_Figure 90:
To apply SQL functions:

Nodes Configuration_Figure 91:
Example:
@<filename>@
@<sequence>@
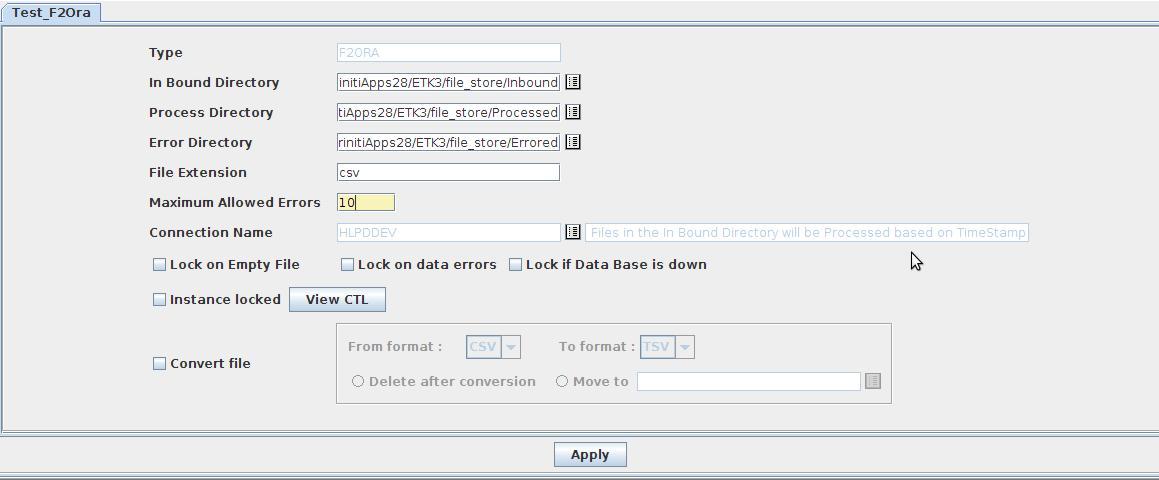
Case 1 : When value is given (For example 10),then the query is executed as below.

Case 2 : When value is not given, then the query is executed as below.

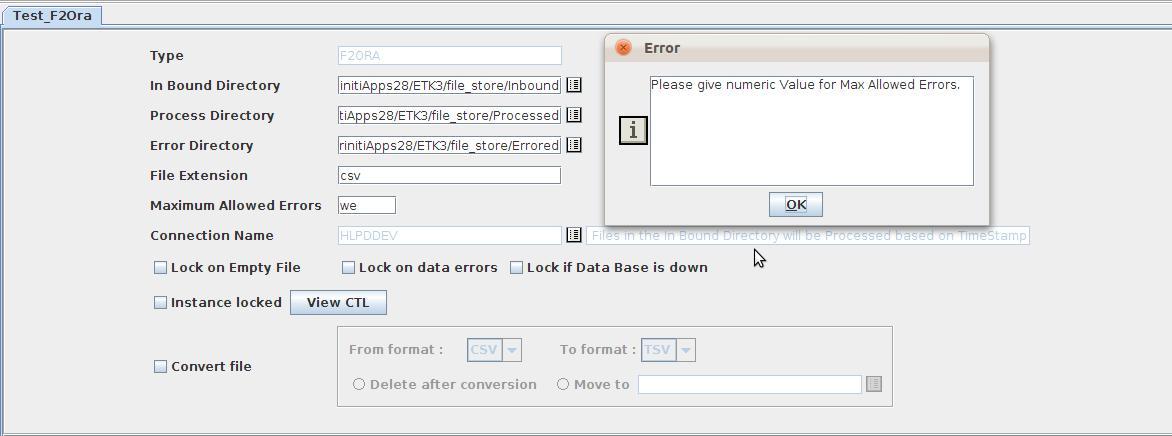
Case 3 : When a non numeric value is give, then it raises an error as shown bellow.
