This section provides the steps for assigning a category to an application.
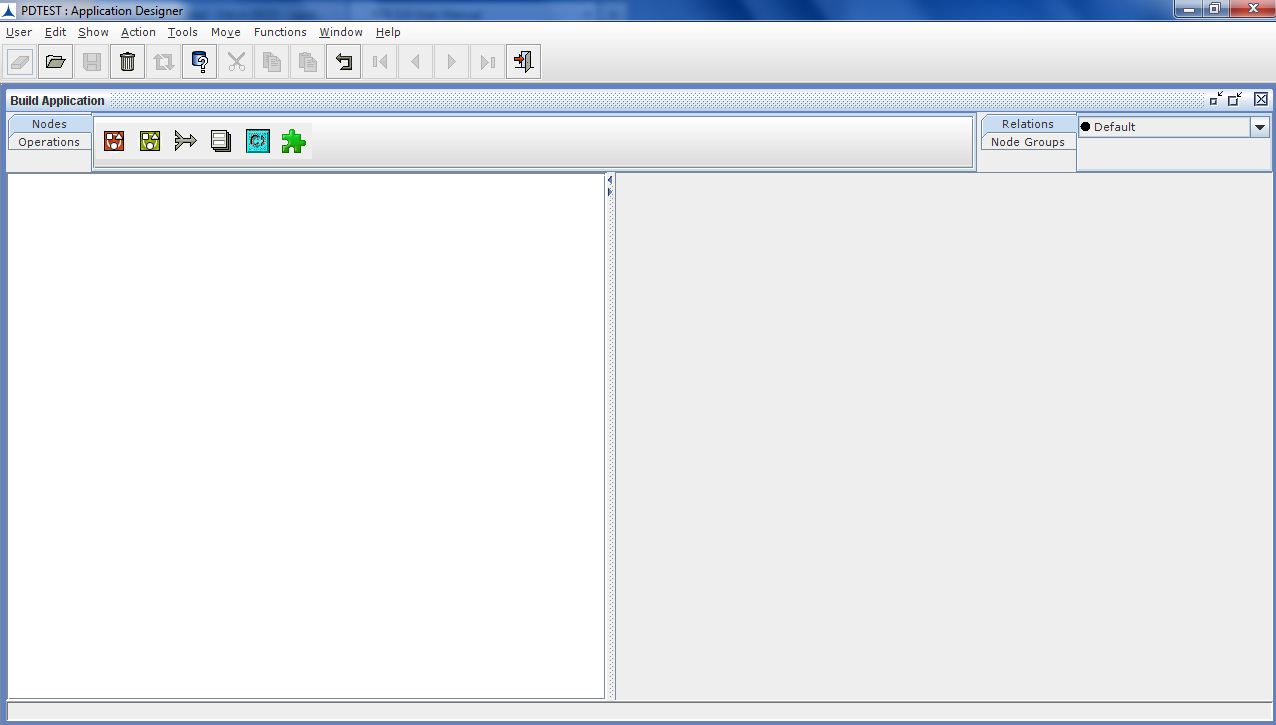
- Access the Triniti Application Builder. The Triniti Portal will be displayed.
- Select the required Role and then click on the Application Designer link available at left side of the Portal. The Application Designer screen appears.
Nodes Configuration_Figure 115:
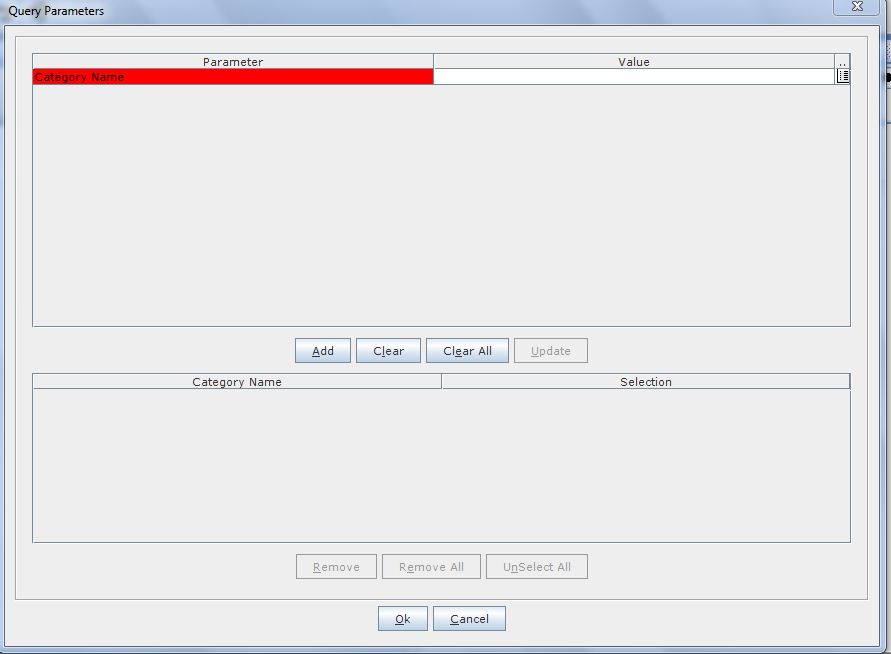
- Click on the Query icon in toolbar.
The Query Parameters screen is displayed as shown below:
Nodes Configuration_Figure 116:
- Click on the list of values icon for 'Value', the Results dialog box will appear.
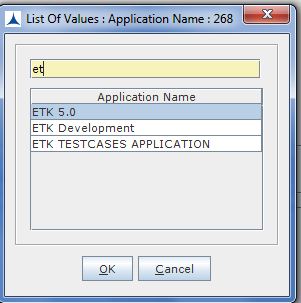
Nodes Configuration_Figure 117:
- Select ETK application and click OK. Then click Add. The selected application name appears at Application Name column in Query Parameters screen.
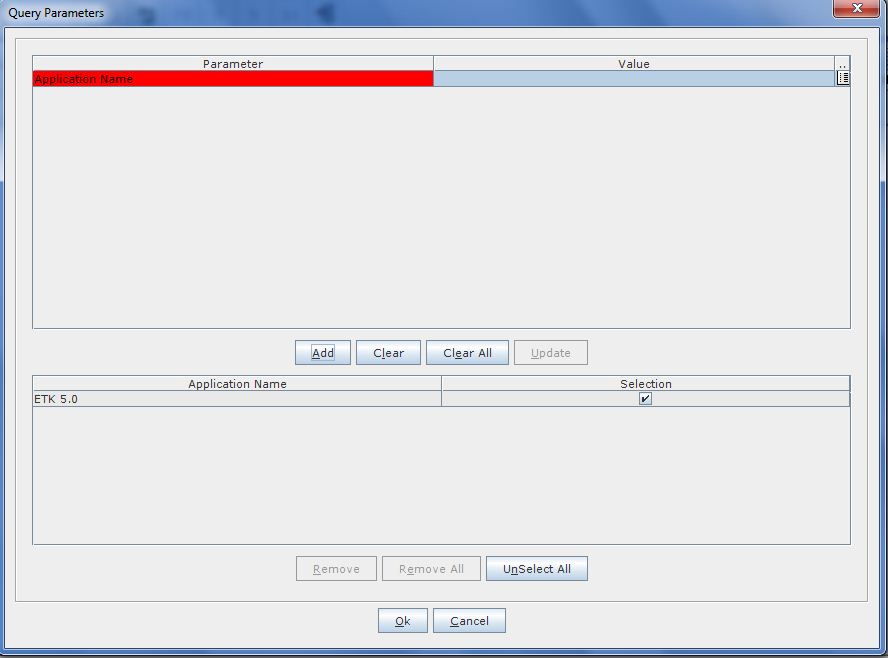
Nodes Configuration_Figure 118:
- Select the checkbox of a selected application. Then click OK. The ETK Application node appears on the work area.
Nodes Configuration_Figure 119:
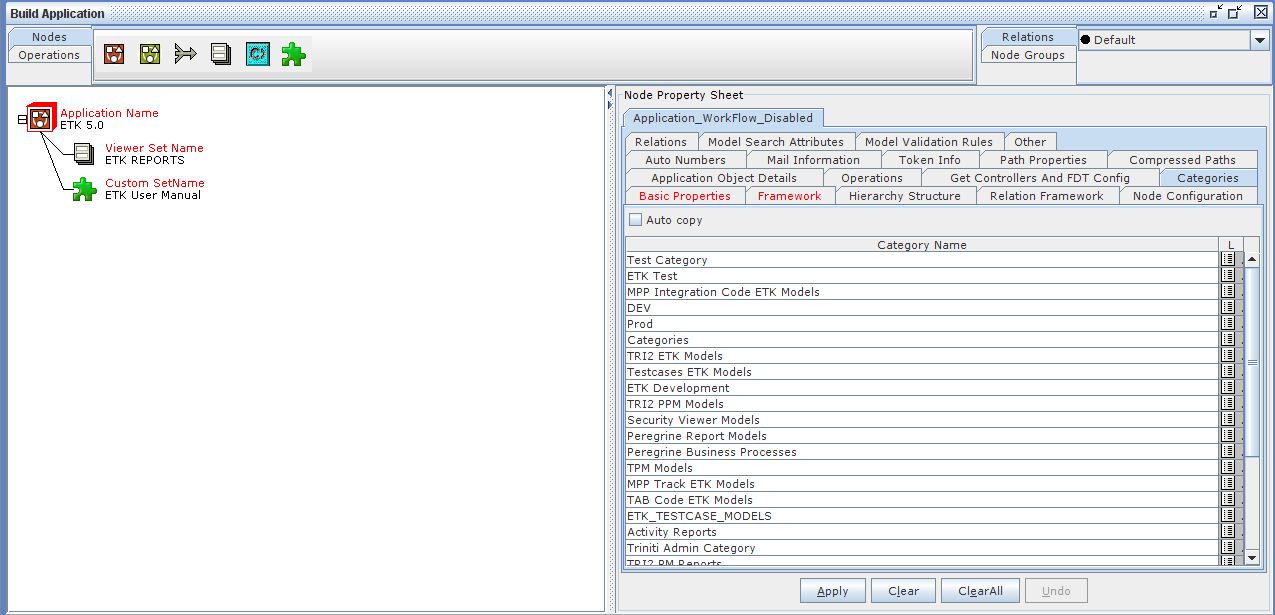
- Click on the ETK Application node in the work area, a Node Property Sheet will be displayed on the right pane.
- Click on the Categories tab in Node Property Sheet, all the available categories are displayed as shown in above figuer.
- Click on the last row of Category Name column and press [Enter] key. A new row will be displayed at the end.
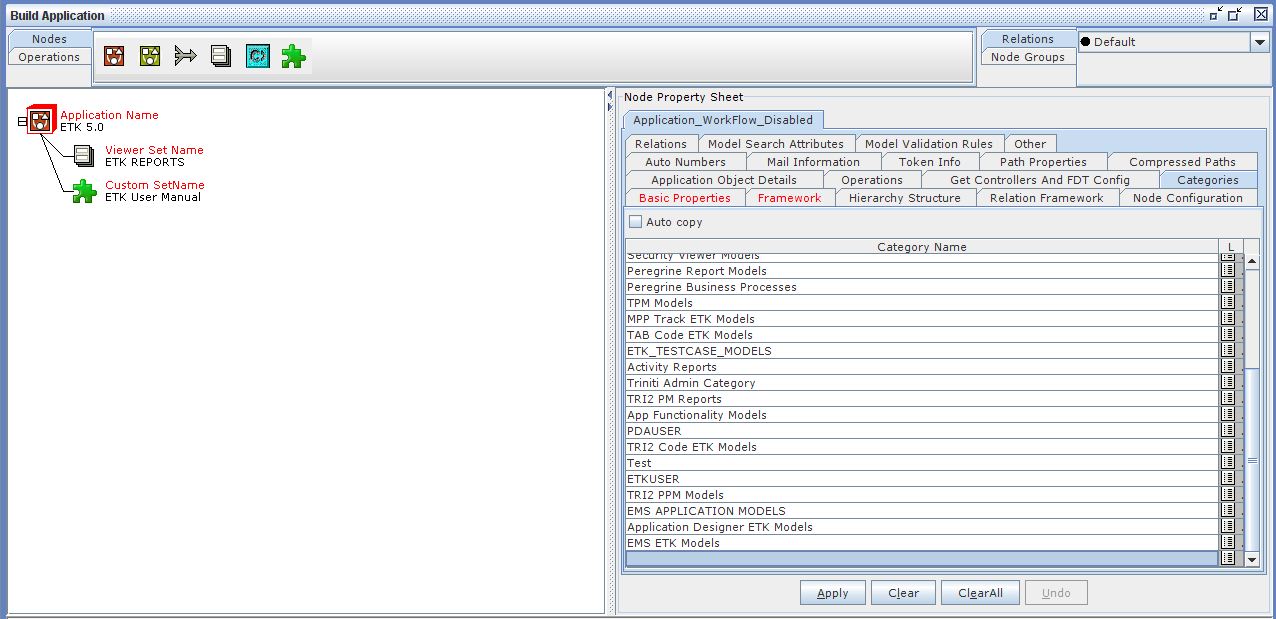
Nodes Configuration_Figure 120:
- Select the newly created category (in this case, FCST) from the list that is displayed on clicking LOV (List of Values) icon of a new row.
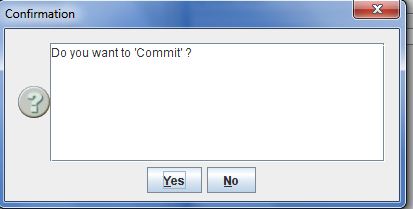
- Now, click Apply and then click Operations?????Commit.
- A dialog box appears to confirm whether you want to commit or not. Click Yes.
Nodes Configuration_Figure 122:
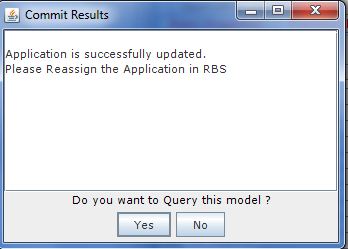
The Commit Results dialog box appears.
Nodes Configuration_Figure 123:
- Now, click Done.
- Navigate to Functions?????Application Designer?????Role Based Security
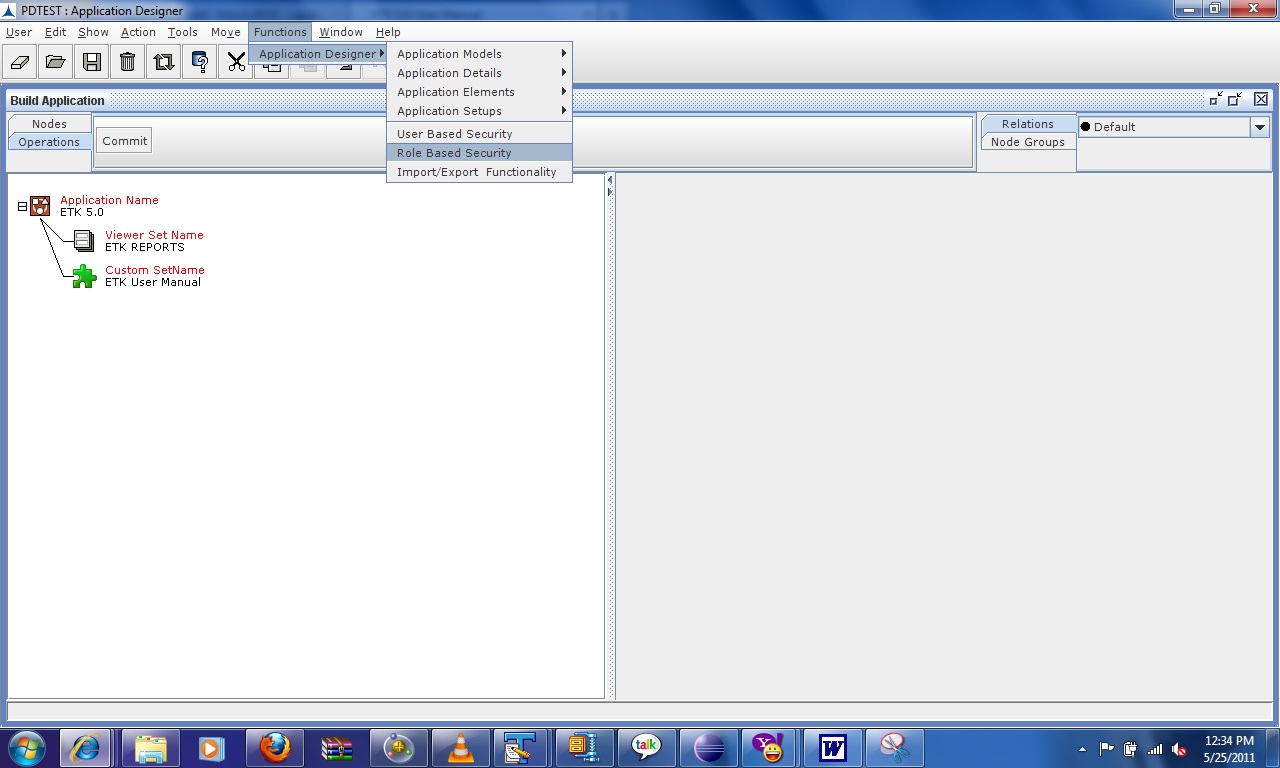
Nodes Configuration_Figure 125:
- In Role Based Security, select the required role at Role Name field on right pane and then double-click on the role name that appears on the left pane. All the available applications for this role will appear in the Applications tree on right pane as shown below.
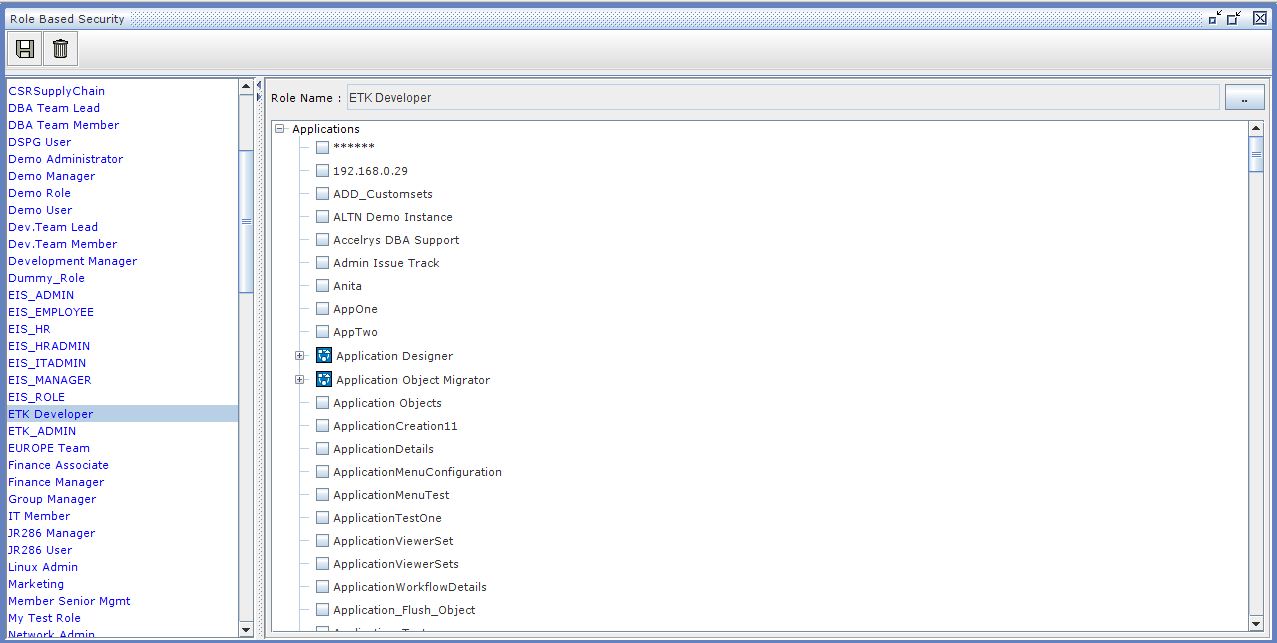
Nodes Configuration_Figure 126:
- Expand ETK Application (ETK 5.0) branch.
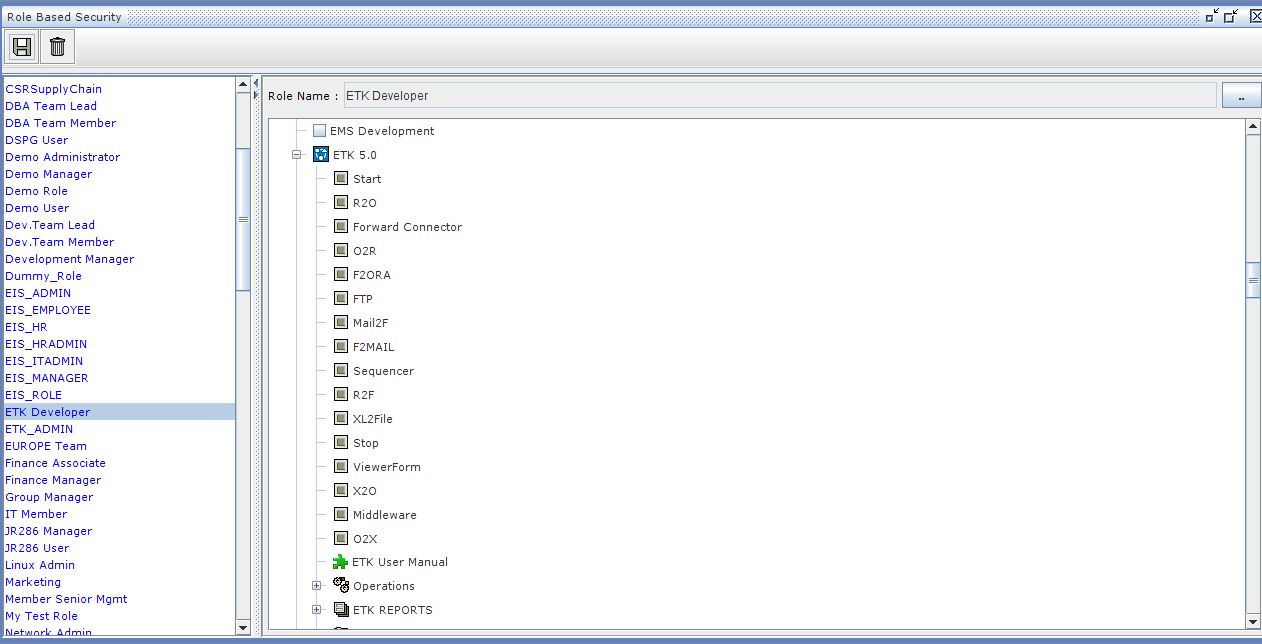
Nodes Configuration_Figure 127:
- Expand the Model Categories branch and select the checkbox of a category name (folder) under which the new category is to be added.
- Expand the category name (folder) branch and select the checkbox of a newly added category (FCST in this case)
- And, also select checkbox for MENU CONFIG.
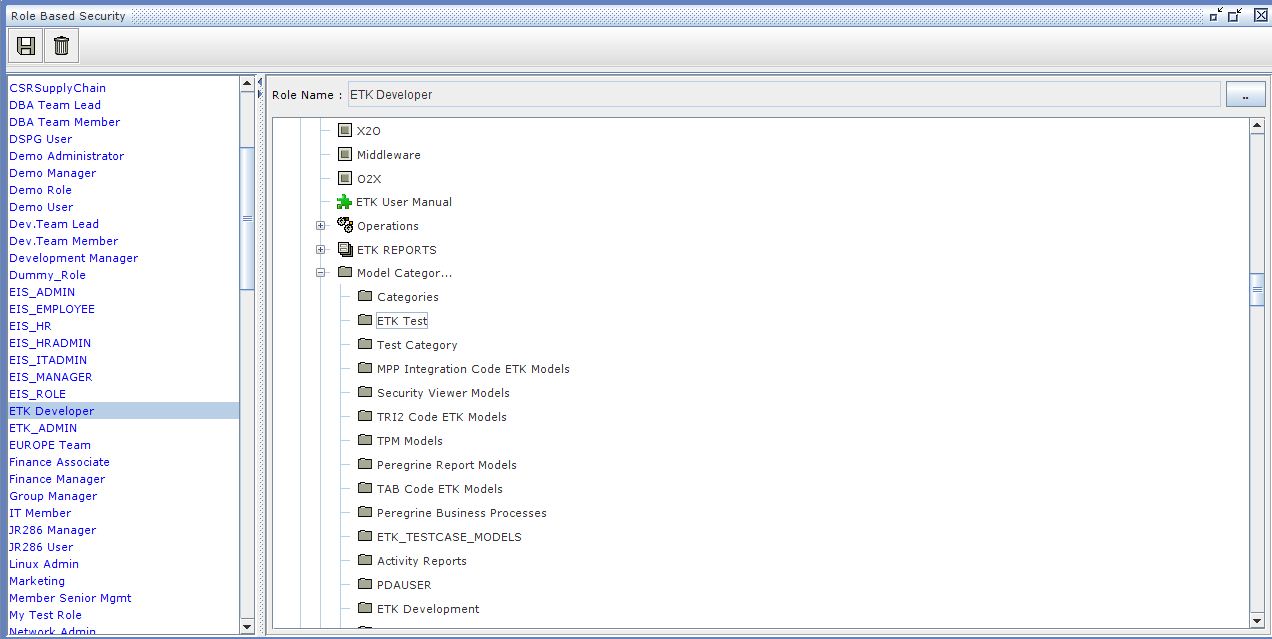
Nodes Configuration_Figure 128:
- Click on the Save icon to save the changes.
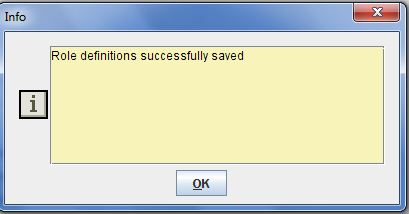
Nodes Configuration_Figure 129:
- The Info dialog box will appear. Click on the OK button.