- Open the browser and enter the URL for TAB, a login screen appears.
- Enter the User Name, Password and click OK. The Triniti Portal will be displayed.
- Select the required Role (For Example: TAB_Admin) and then click on the Category link available at left side of Portal. The Build Frame will be displayed as shown below:
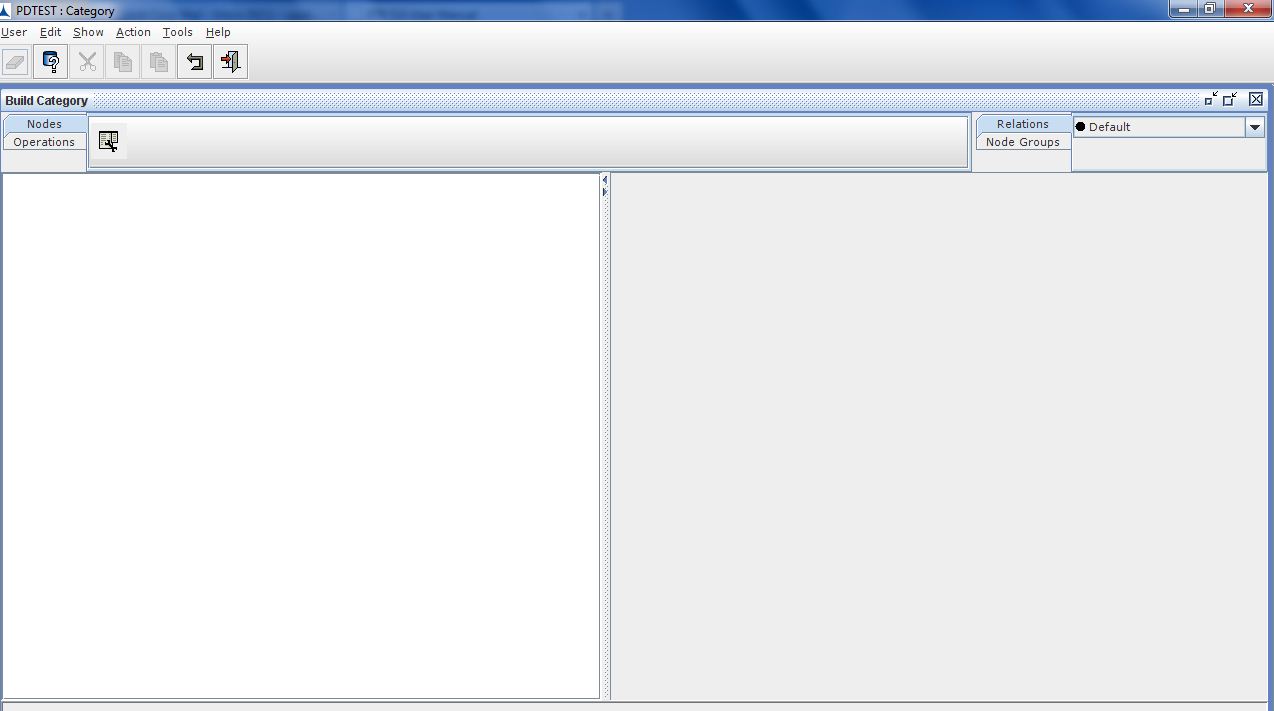
Nodes Configuration_Figure 105:
- Drag the category node from node area to work area, the following screen will be seen
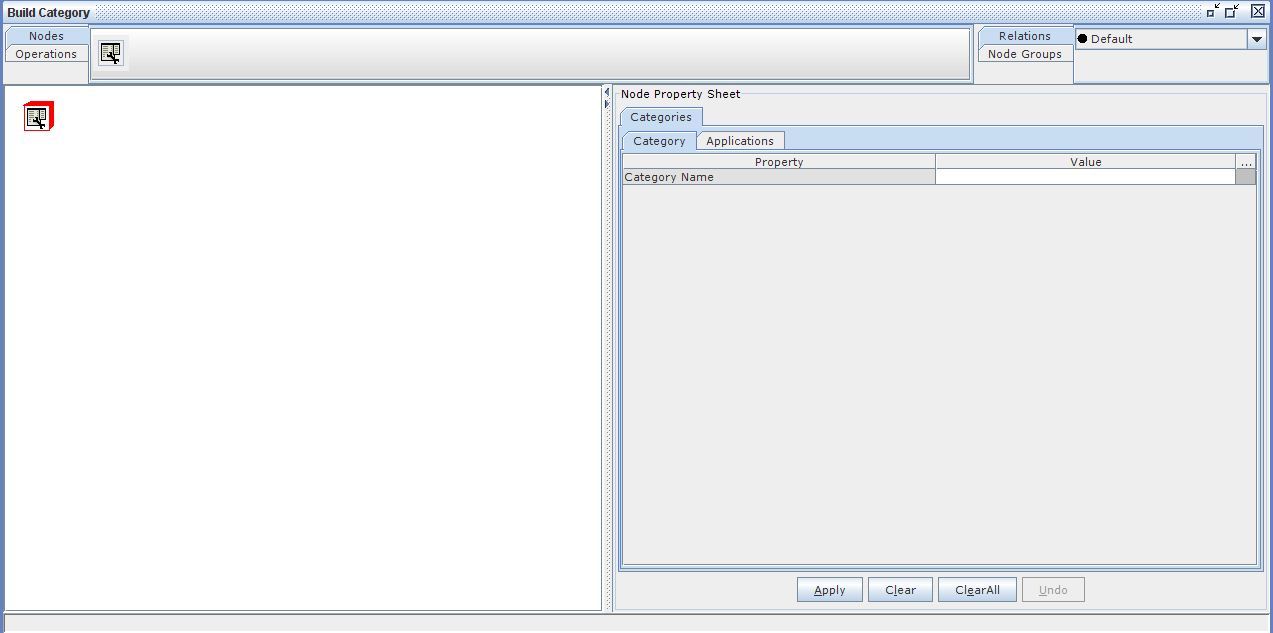
Nodes Configuration_Figure 110:
- Click on Category Tab. Enter the Name for the Category, under Value column, on the right side of the screen.
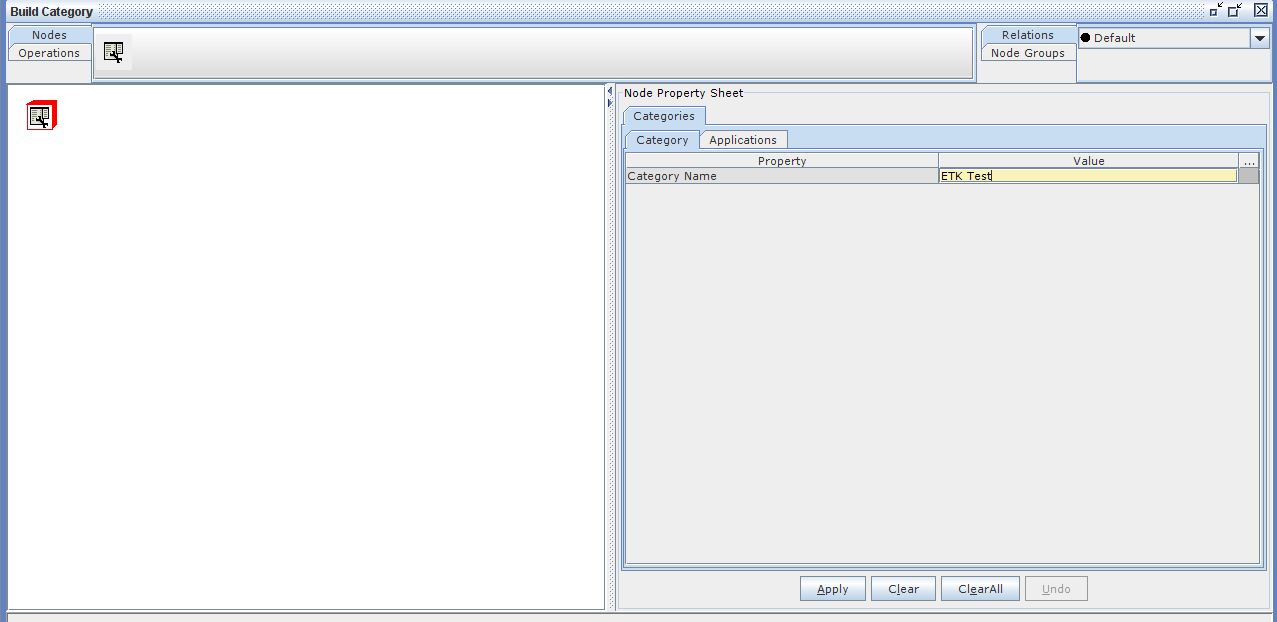
Nodes Configuration_Figure 111:
- Click on Application Tab. Click on the box next to Application Name field and select the Application to which this Category as to be assigned and click OK.
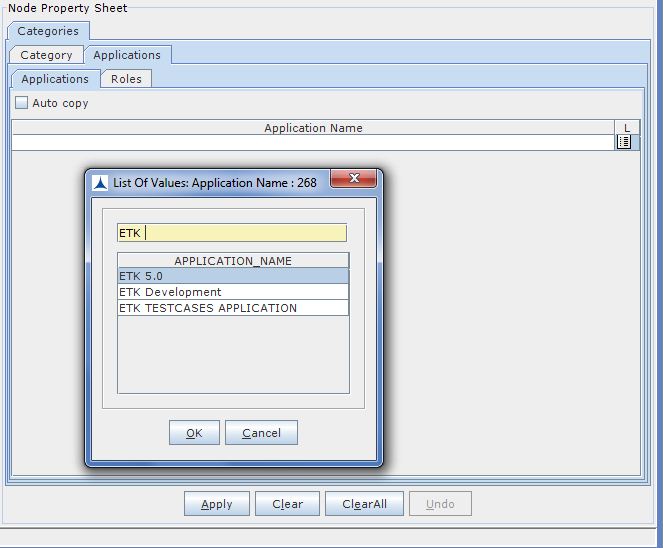
Nodes Configuration_Figure 112:
- Click on Roles Tab under Application Tab. Click on the box next to Role Name field and select the Role to which the Category as to be assigned and click OK.
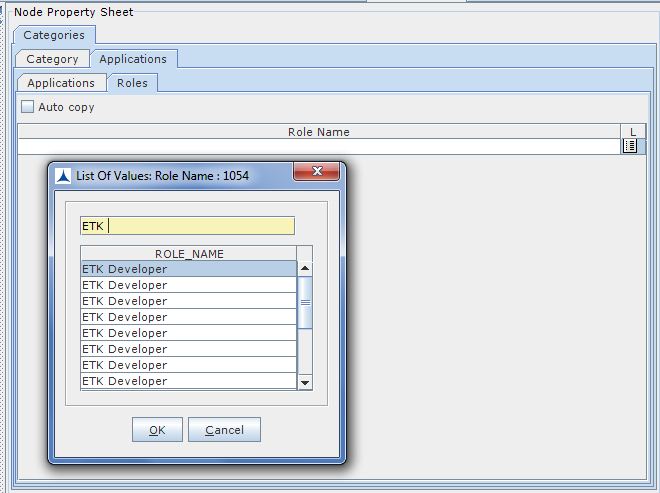
- Click on Apply button
- Then click Operations?????Commit. A dialog box appears to confirm whether you want to commit or not. Click Yes.
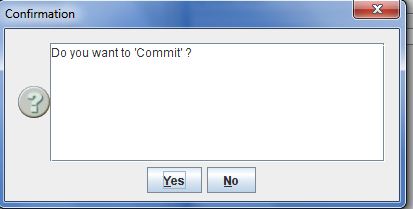
Nodes Configuration_Figure 113:
The Commit Results dialog box appears.
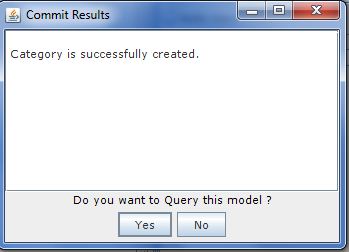
Nodes Configuration_Figure 114:
- Now, click Yes and close the Category application.


